Huntington Beach Panorama

The Shooting Process
Here's how I pulled the shot off.
1. I placed the camera into Aperture-priority mode because I needed a little automatic assistance to deal with the quick panning. I knew that Photoshop could handle any subtle shifts when it blended.
2. I set the camera to Raw to have much greater flexibility in exposure and tone.
3. I squared my body to face the most interesting part of the action.
4. I planted my feet about shoulder width apart and twisted at the waist.
5. I shot two exposures for each position (to deal with moving subjects).
6. I tried to pan my body smoothly and create about 50% overlap between exposures to avoid issues with people being accidentally cut off by movement.
The Shooting Process
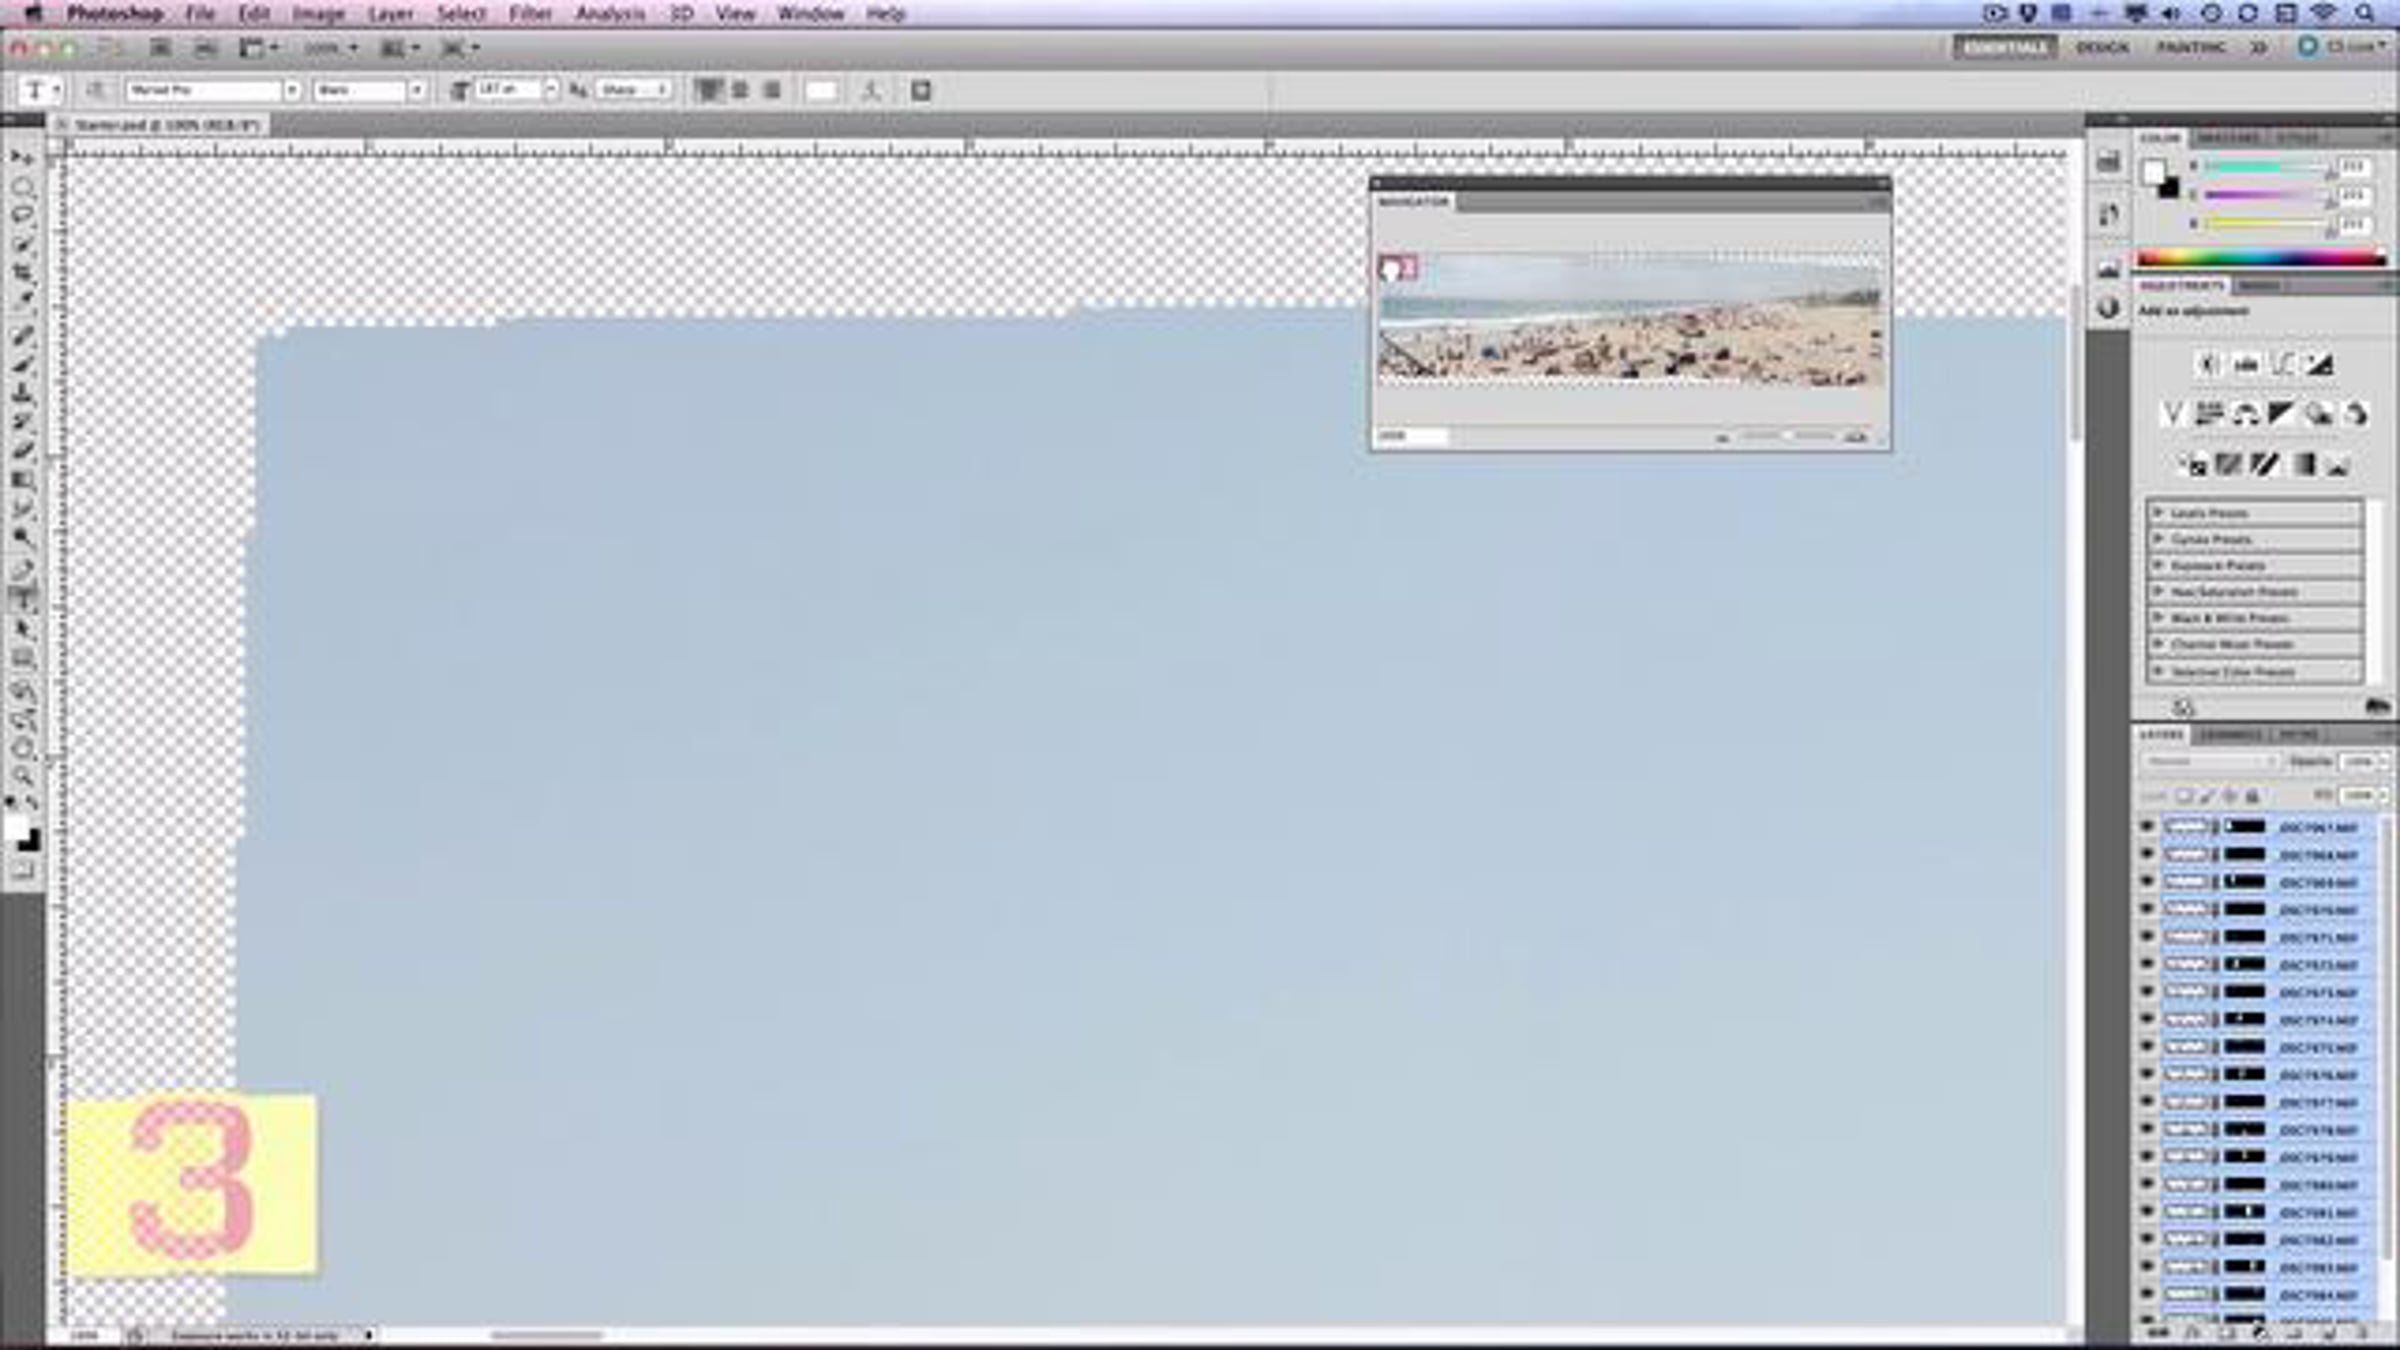
Here's how I completed the post. I used several features in Photoshop to get the job done.
• Ran the Photomerge command. Slightly dissatisfied with first results so ran it again (each time is a little different).
• Adjusted the layer masks to clean up the blending of fast-moving objects.
• Used Cloning, the Patch tool and Content Aware Fill to remove blemishes.
• Popped Color with Vibrance
• Controlled tone with Curves.
• Used a Gradient Fill Layer and Photo Filter Layer to pop the sky.
• Cropped to improve composition.
• Performed Grayscale Toning.
• Used Blending Modes and Blend If command.
• Here's the walk-through.
• What sort of tutorials do you want to see next?
Get started for free
24/7 customer support
Our customer support team is available to help 24/7. Enterprise members also receive dedicated account managers and a guaranteed uptime SLA.
© 2026 Vimeo.com, Inc. All rights reserved.
TermsPrivacyYour Privacy ChoicesU.S State PrivacyCopyrightCookies