How to add Android device

Once you have successfully created Kidslox account and set up your parent device, it’s time to add your child’s Android device to your account.
Please note, both the parent and child devices will be logged into the same Kidslox account. However, if you follow the instructions I’m about to give, you don’t need to enter your account credentials on the Child device as your account information will automatically be transferred from the Parent device. So, let’s see how it works.
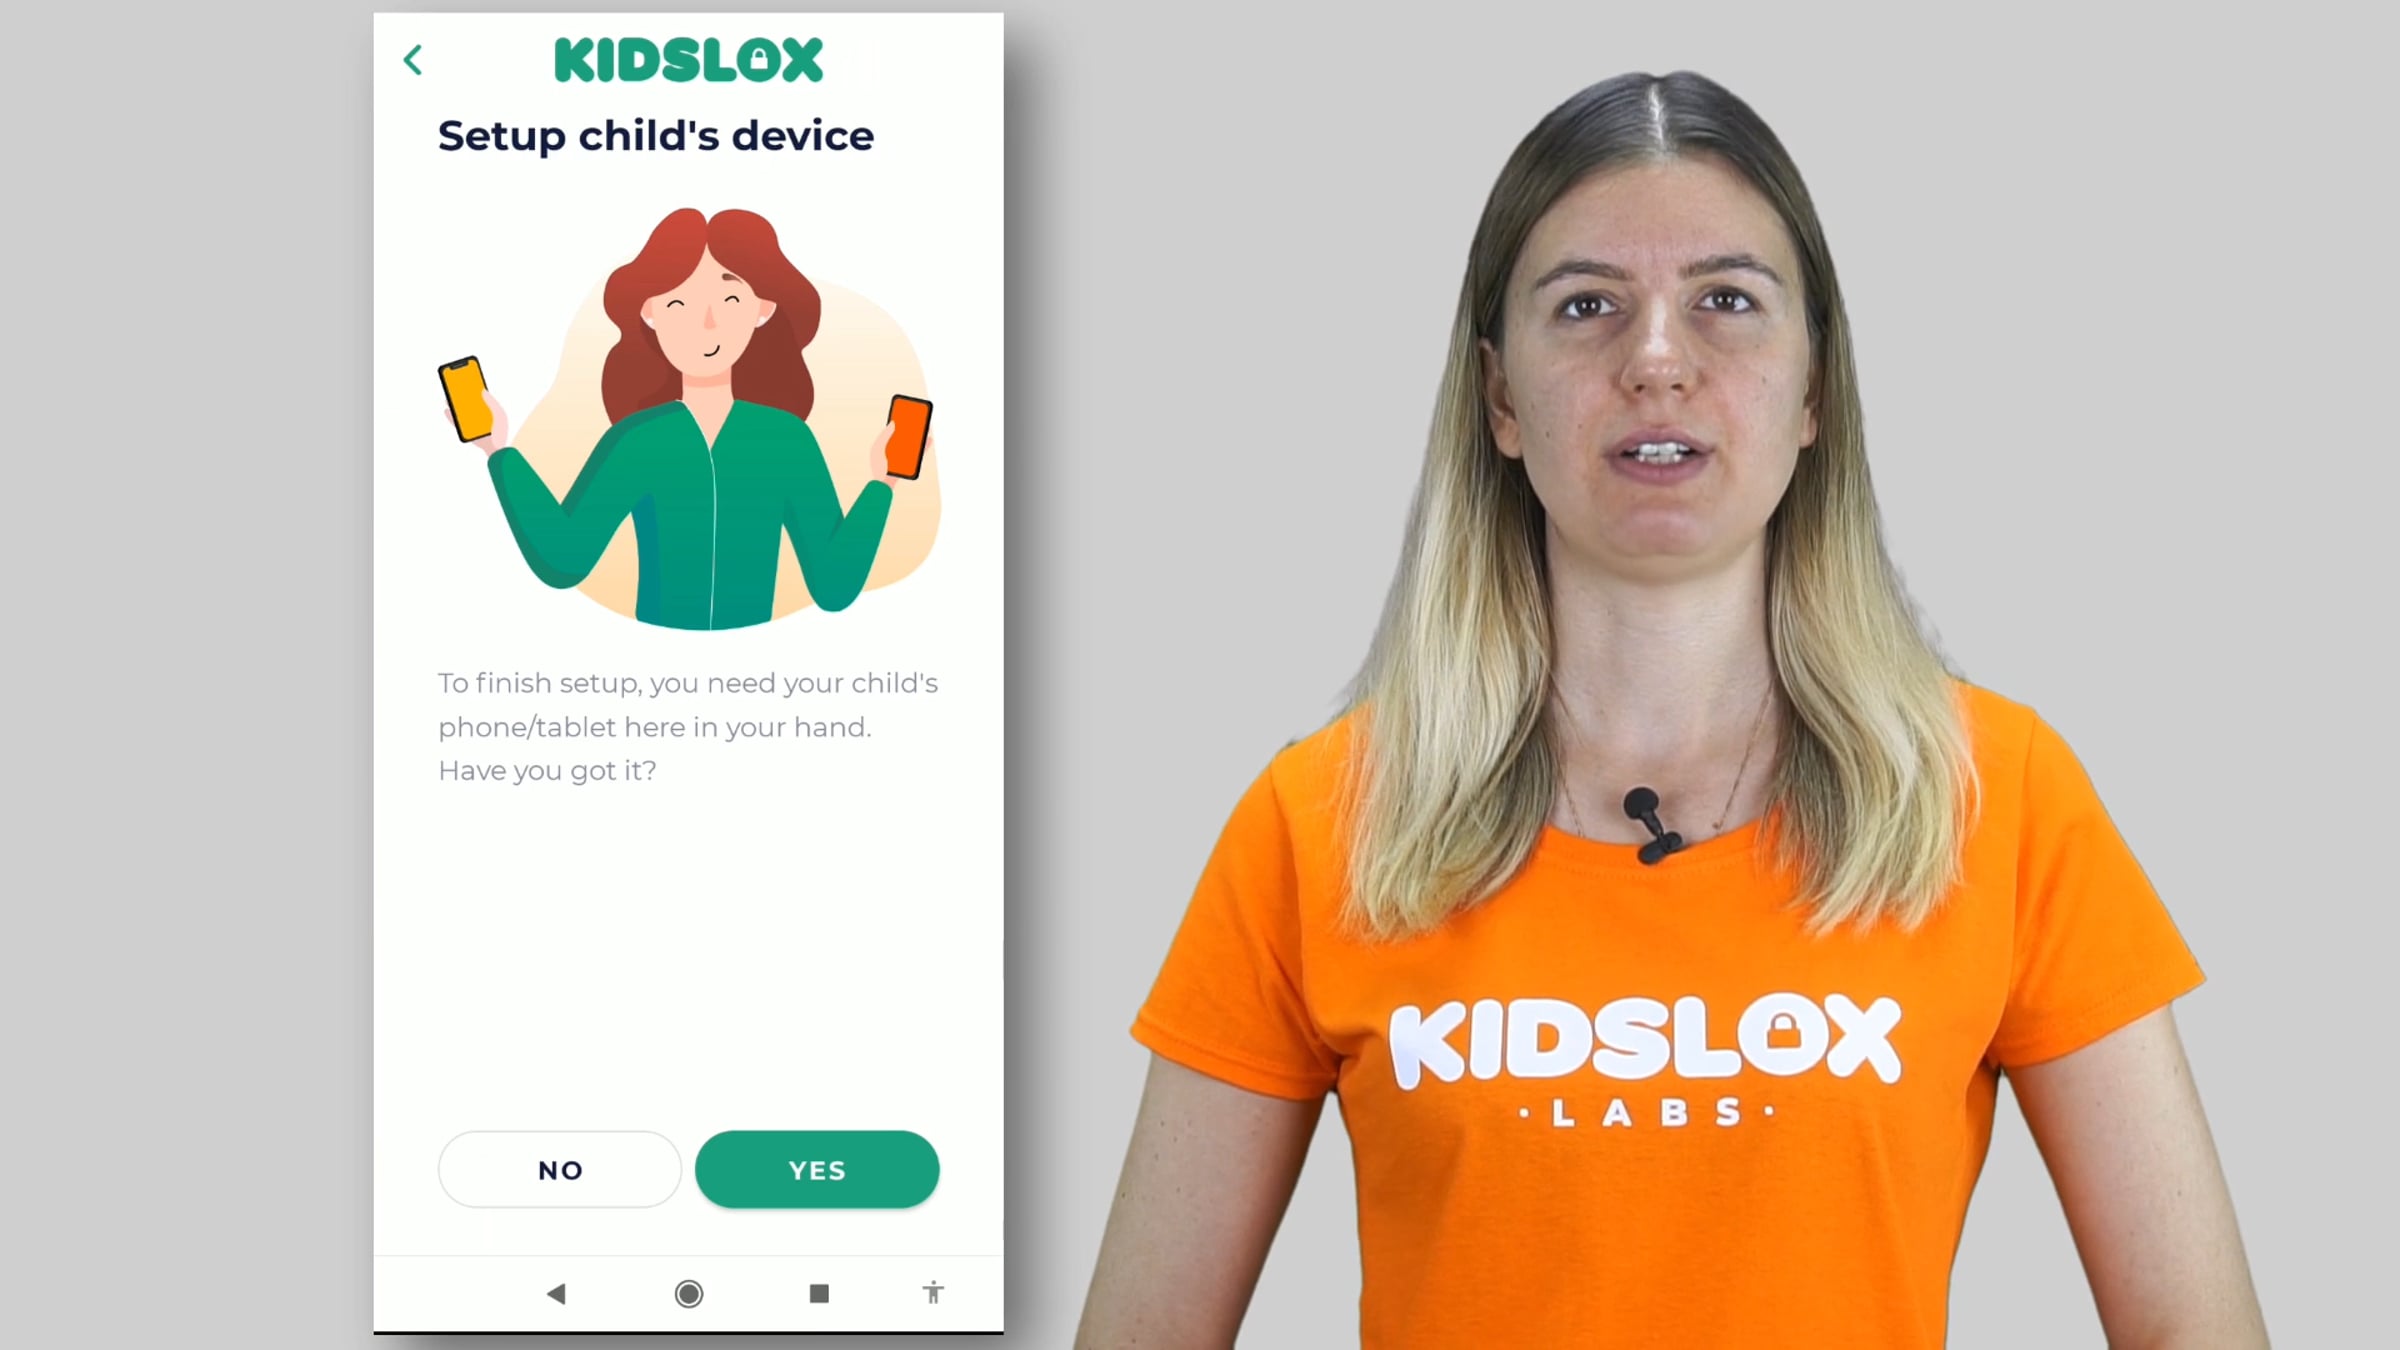
Take the parent device where you have already installed Kidslox and logged into your account as a Parent. Regardless of whether it is an Apple or Android device > open Kidslox on it > on the home screen tap the Control another device button > you will be asked if you have your child’s device in your hands > tap YES.
Now do not turn off your parent device > take your child’s device > make sure both devices are using the same Wi-Fi > install Kidslox from Google Play Store > launch Kidslox and right after you should hear a jingle notifying you that this child’s device has been invited to your account. This way the child’s device was automatically logged into your Kidslox account. Tap Continue and enter your Kidslox PIN.
Now it’s time to start the setup process. It may look a bit intimidating, but it’s easier than it seems. Kidslox needs these permissions and setup stages to work properly.
First, give the name, choose the age and set the avatar to represent the device in the list of your controlled devices. Afterward tap Next Step.
On Step 2 give Kidslox Administrator access, so it can lock down the device. Tap ‘Let’s Go’ and the app will redirect you to the device settings. Here, tap ‘Activate’.
We’re on ‘Step 3’ already. This step lets Kidslox use overlays on the phone to make app blocking extra effective. Hit ‘Let’s Do it’. Again the app redirects you to the native device settings where you need to swipe the toggle to the right to allow this permission.
Great! Now Step 4. It’s time to enable accessibility. This will prevent app removal. Tap ‘Go to Accessibility’. On this screen choose ‘Installed services’, tap Kidslox and swipe the toggle to the right. The device will show another message asking for additional permission, tap ‘Ok’.
On step 5 we’re going to enable Usage Access. This is necessary to track app activity and block the device settings. Choose ‘Let’s Do It’. The device opens the settings and you may need to scroll down to find Kidslox. Here it is! Tap on it and on the next screen swipe the toggle to the right.
Well done! Step 6 is Notifications. Activate them to make sure you won’t miss important notifications regarding your kid’s activity. They are also used for the correct work of mode changes and daily limits. Tap ‘Got it’. Find Kidslox in the list and swipe the toggle to the right.
In the appearing pop-up message tap ‘Allow’.
Perfect! Now Step 7 - Content blocking. This step gives Kidslox access to the device's telephone and storage functions. Content blocking also requires the VPN to be enabled. Tap ‘Activate’. On the first pop-up message tap ‘Ok’, on the second one ‘Allow’.
Tap Got it.
Congratulations! You’ve added your first Android device!
You can add up to 10 devices to your Premium Kidslox account. Tap on the device to see statistics, change modes, block apps and unwanted web content, set daily limits and change other restrictions for this device.
Get started for free
24/7 customer support
Our customer support team is available to help 24/7. Enterprise members also receive dedicated account managers and a guaranteed uptime SLA.
© 2026 Vimeo.com, Inc. All rights reserved.
TermsPrivacyYour Privacy ChoicesU.S State PrivacyCopyrightCookies