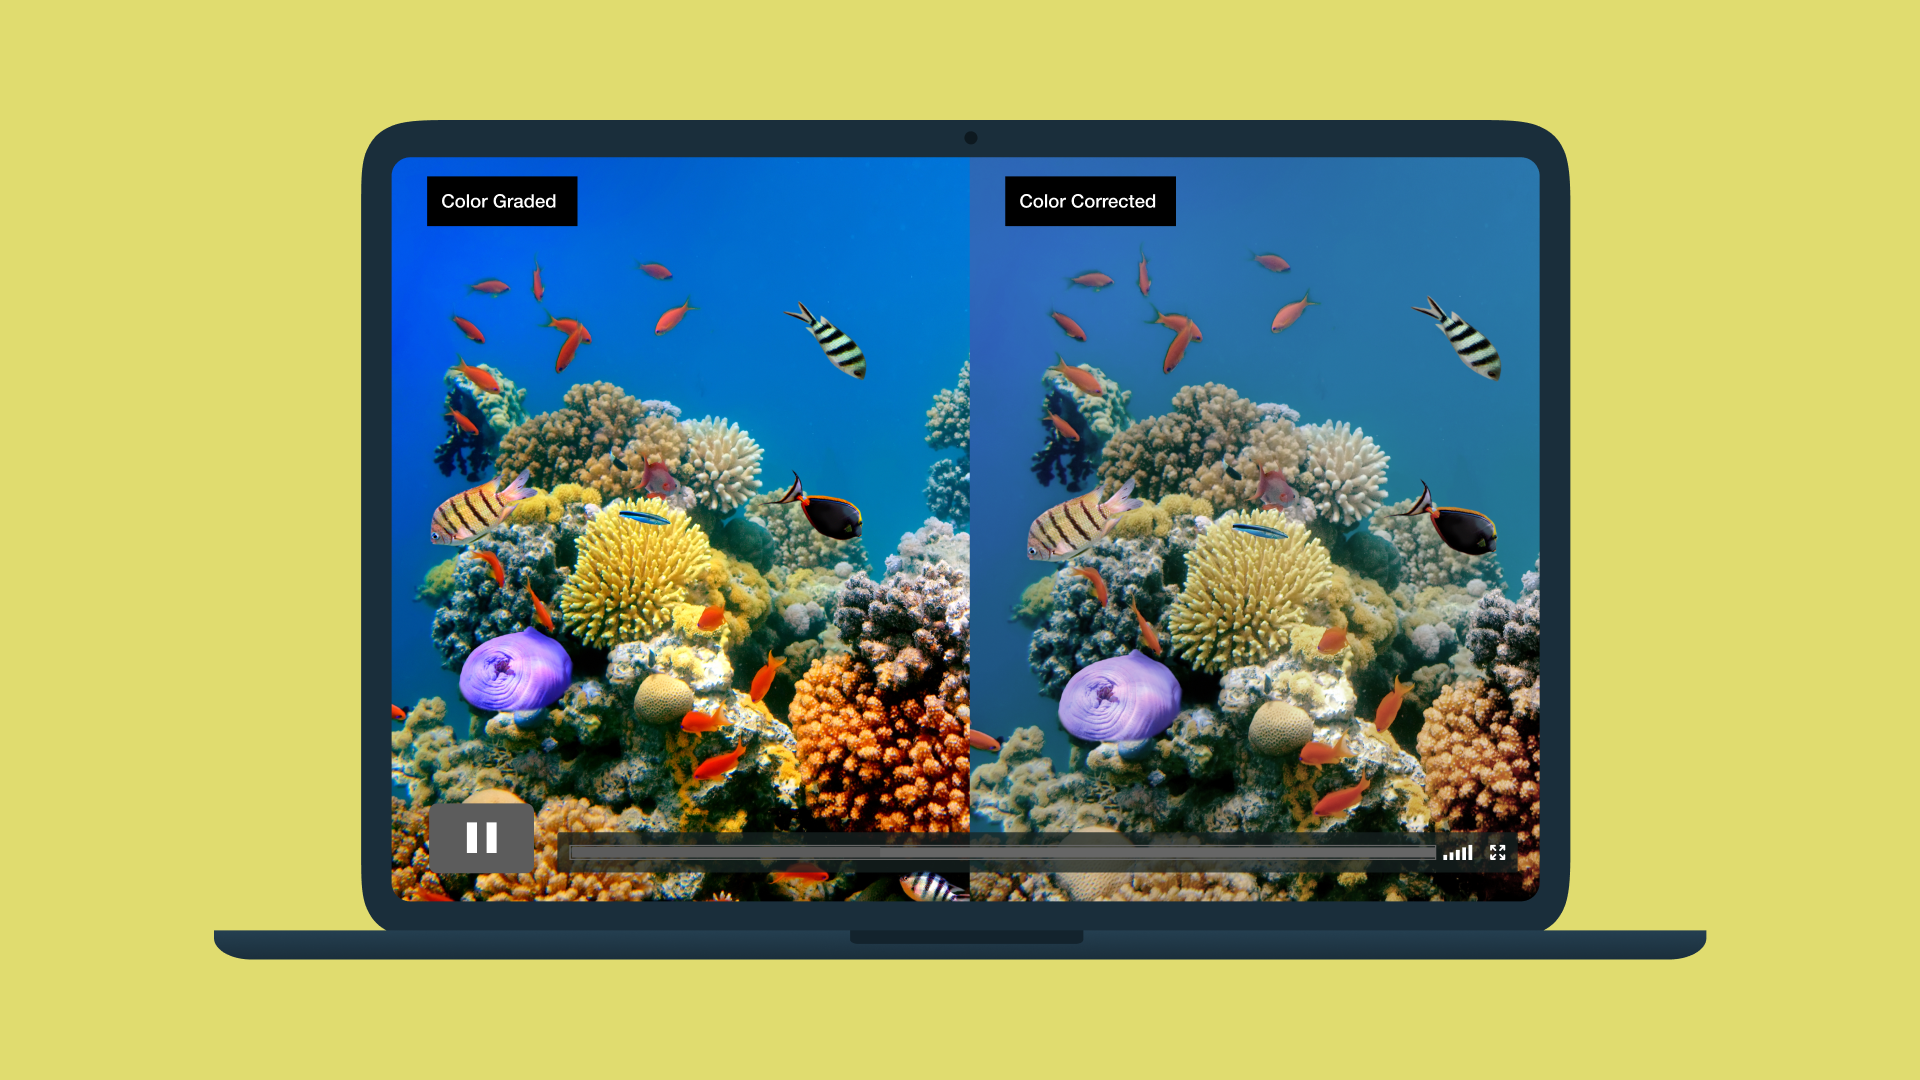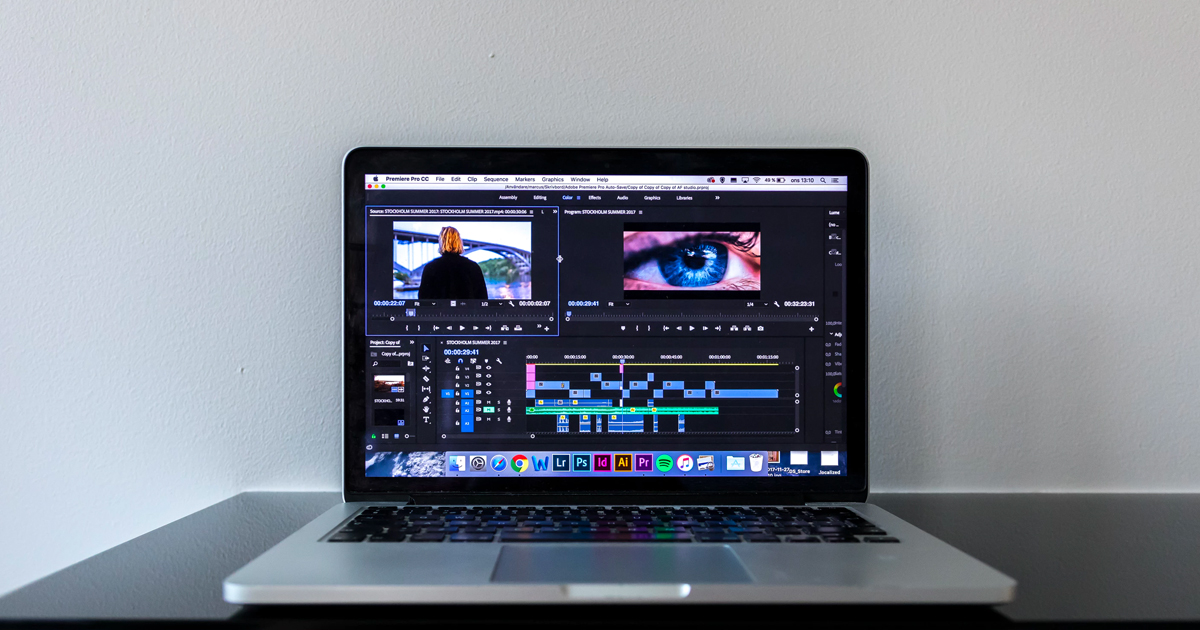
‘We’ll fix it in post!’ It’s a common saying in the production world, and it may well be true in many cases, but whatever happened to getting it right the first time? With advanced software like Magic Bullet Looks and Blackmagic’s DaVinci Resolve, a great deal of emphasis has been placed on color correction and color grading in the post production workflow. But what if you could do all of that work — or at least get a head start on it — while shooting? Our pals at stillmotion utilize the in-camera color and picture settings on their DSLRs whenever they shoot. For one thing, this cuts down on time spent in post. Moving away from your camera’s auto settings also helps you gain control over your camera and encourages deliberate stylistic choices. Color grading can greatly impact the overall look and feel of a piece. Making color choices before you press record, and being immersed in them while shooting, will only help to drive home the intended mood in the final product. Makes sense, right? Now let’s take a look at just what they do:
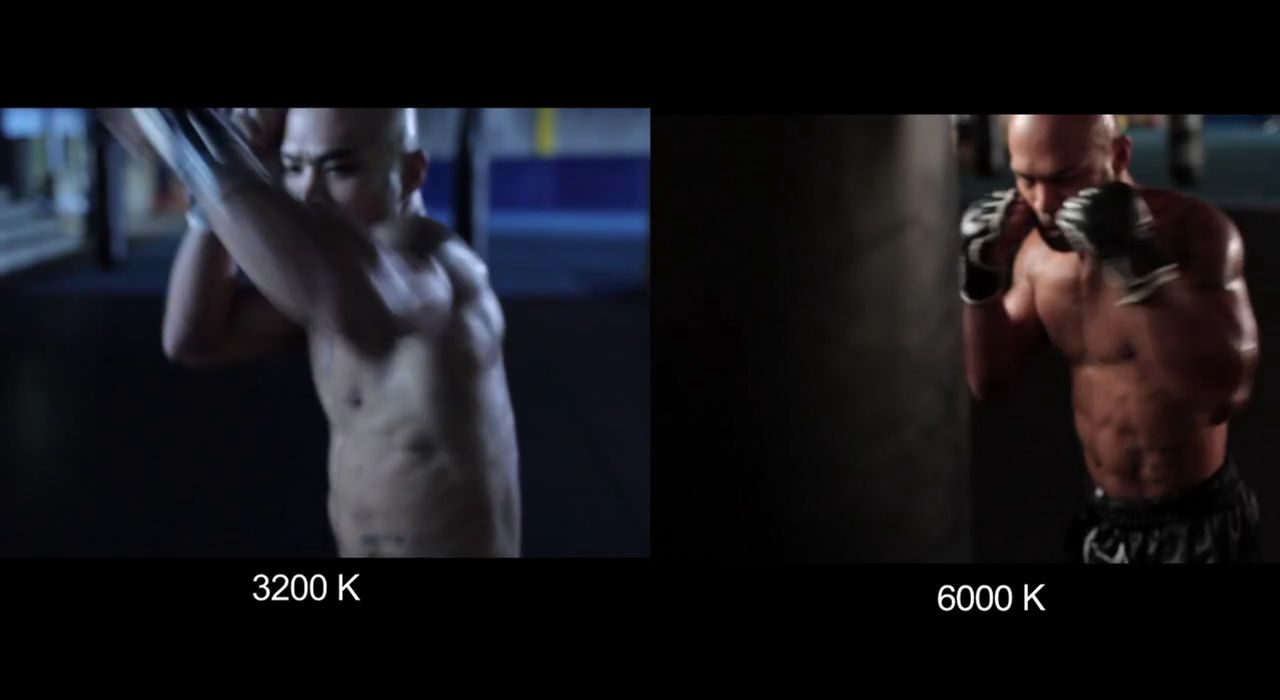
The main settings you can adjust within your camera are white balance, white balance shift, and picture profile. When changing these in-camera settings, you’re essentially telling your camera how to interpret light. White Balance If you use just one of the settings discussed in this lesson, this should be it. White balance is the process of calibrating your camera to recognize the color white as white so that all colors appear normal. While all cameras provide presets for different qualities of like such as Indoor, Cloudy, Fluorescent, etc., it’s more accurate to use Kelvin, which allows you to manually set the color temperature at which your camera will shoot. The Kelvin scale is a measurement of color hue. Higher numbers (such as 6000 K) render warmer, red hues while lower numbers (3000 K) will render colder, blue hues. While you can keep these numbers in the back of your head for reference, in the end just adjust to your eye. The beauty of using Kelvin is that if you want to push your colors to the warmer or colder side, you can! White Balance Shift Selecting White Balance Shift in your camera’s menu will direct you to a grid that allows you to pull blue, amber, magenta or green into your image. This can be used to regulate your image and bring the colors back to ‘normal’ in extreme situations. For example if you’re shooting outside on a lawn and the reflection off the green grass is muddling with your image, you can pull that green out by pulling toward magenta. But you can also use this setting to skew your hues in a desired direction. Picture Profile There are four dimensions to the picture profile settings — sharpness, contrast, saturation, and color tone — and each can be set at high, low, or neutral. You can create a custom picture style, or use an already established picture style, like one of the six Canon presets, or download one from a third party, such as Cinestyle from Technicolor, or Cine from Marvel. Most people will choose one picture picture style and always shoot with it. However, it’s best to adjust your picture profile based on your shooting conditions and your desired look. Once you’ve chosen a base picture style, the following four dimensions can be further adjusted. Let’s take a look at what they do: Sharpness Turning up the sharpness will make your image… you guessed it… more sharp! Elements become more defined, edges are sharper. This can create a livelier, more raw looking image. On the other hand, turning sharpness down will create a softer, more dreamy looking image. When shooting wide landscape shots, it’s best to turn the sharpness down, or else, due to the h.264 compression of the camera, you’ll end up actually losing detail. Contrast Boosting the contrast will, of course, make your image more contrasty. The effect will create a harsh, strong image, whereas turning down the contrast will create a more subtle, worn image. One thing to keep in mind is that if you bake in too much contrast in your camera settings, you run the risk of losing the detail in your highlights. In a situation where you need a lot of latitude (where you’ve got super dark shadows and very bright highlights and you want to retain as much detail as possible), turn the contrast down for more flexibility later on. It only takes a few seconds to adjust your blacks in post, but retrieving lost highlights is impossible. Saturation Adding saturation fill creates an image that is full of life, with colors that pop. Lowering the saturation will produce an older, worn image. Think about your subject and mood you want to portray. Color tone Color tone allows you to add a red or yellow shift, and is used for correcting skin tones. Dialing in a -4 will make your image red, while a +4 will make the image more yellow. Adjust this to fit your subject’s skin tone, or use it like White Balance Shift to create a look and feel. It’s also important to keep in mind that your camera’s LCD screen is not the most accurate representation of the image you’re capturing. For example, the Canon LCD screen tends to be more saturated and contrasty compared to the actual footage. Understanding how your LCD correlates to the final output image is very important. Always keep this in mind while altering settings. Every shoot, every shooter, every subject, and every post-production workflow is different, so adjust your camera settings accordingly! It may be tempting to shoot a flat image and adjust everything using color correction software, but if you give some thought to the stylistic choices beforehand, you’ll cut down on time spent in post, and you’ll be able to feed off of the look and feeling of the image as you’re capturing it. Make the final adjustments in post, and use that extra time to think about your next project!
If you're a creator, learn more about Vimeo’s video creation, editing, hosting, and analytics tools tools to help enhance your videos by integrating background music, adjusting video dimensions, and more so you can make, share, and manage your videos.

