It’s the end of a shoot: filming has wrapped, audio still needs to be synced, and feedback is already starting to come in. This is often where a project gets hardest to manage. Without a clear post-production workflow, versions multiply and revisions get lost, while deadlines slip as your team spends more time chasing files than finishing the cut.
In this guide, we’ll break down the key stages of the post-production process for online video content. We’ll also see how a cloud-based platform can replace scattered drives and messy handoffs with a single, connected path from rough cut to final delivery.
What’s a post-production workflow?
A post-production workflow is a series of steps that turns captured video footage into a finished, deliverable piece of content. The post-production process starts after two other phases wrap up: pre-production (planning and scheduling) and production (the actual shoot). This final stage covers everything from organizing and backing up media through video editing and final exports.
A clear workflow keeps the whole process moving, and adapts it for your specific goals and content types. In film post-production, feature-length footage and complex sound design call for a highly structured workflow. But the same basic production process, run at a smaller scale, works for a two-minute marketing video or a training series.
7 key stages in a repeatable post-production workflow
A detailed, reliable post-production workflow gives your team a clear roadmap, while protecting projects from expensive reworks and missed deadlines. Let’s take a closer look at the seven key stages.
1. Organize your footage
Once you have footage, whether captured during a shoot or a screen recording, it needs to be uploaded into your video management system. Convert camera files into an editing-friendly format, and label all assets descriptively so they’re easy to find in your video library.
Upload your assets to Vimeo →
2. Assemble assets into a rough cut
Next, you’ll need to review your footage and start building a rough cut of the video. The goal of this first draft is to focus on structure, placing the strongest shots in roughly the right order to create a working timeline. Keep an eye on story and flow, and don’t worry about perfect transitions just yet.
3. Edit the video draft
When you’re happy with the video’s structure, it’s time to dig into the finer details. Edit clips and adjust the timeline to tighten pacing, and solicit plenty of feedback from other team members or stakeholders.
This stage continues until the project reaches picture lock, where the cut is approved and no more changes should be made. Everything downstream — VFX, motion graphics, color, and sound — is built frame-accurate to the locked edit.
4. Add visual effects and motion graphics
At this point, VFX artists and motion graphics teams take over and start building the visuals the project needs. This includes titles, lower thirds, animations, and compositing. Because these elements are built to match exact frame counts, late changes can force expensive re-tracking and re-timing. So make sure to spend plenty of time refining the edit and perfecting interactive elements.
5. Conduct color grading
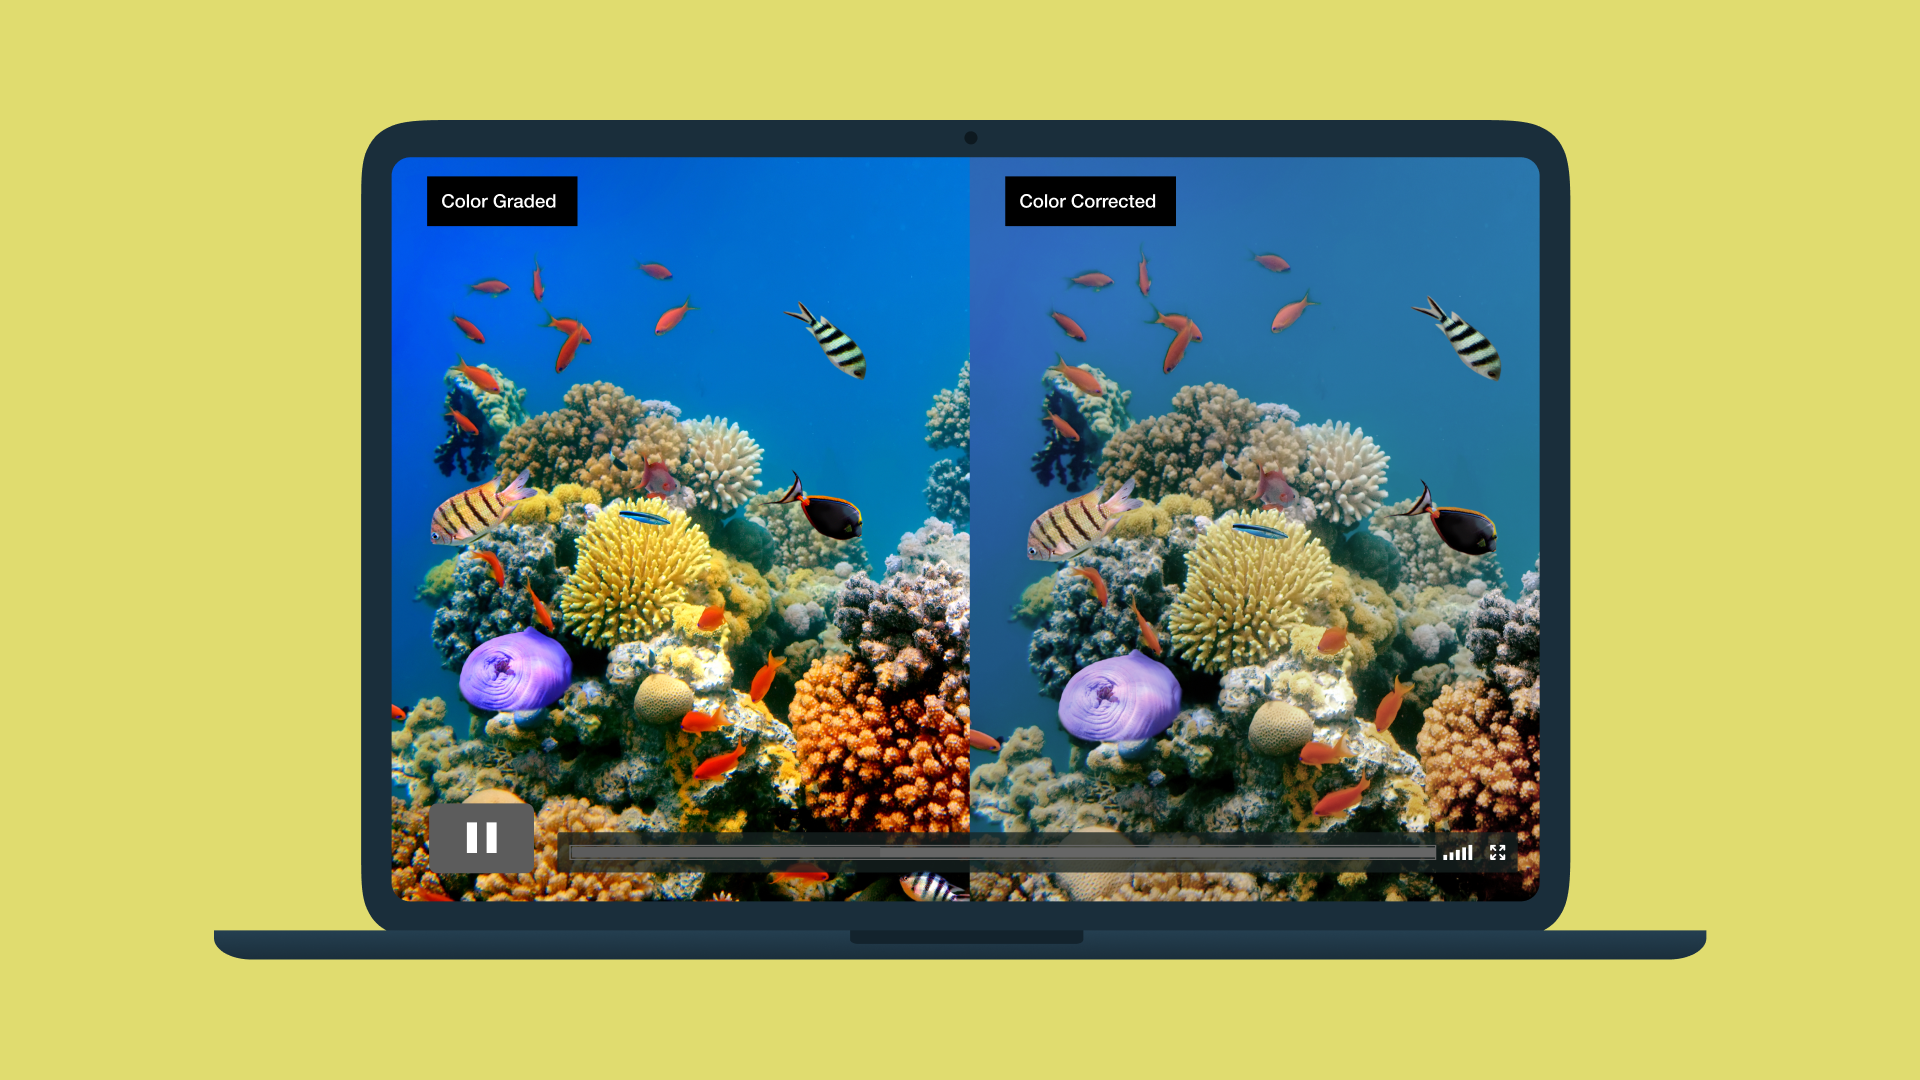
Poor color grading makes even strong edits feel disjointed, and it can cause spec failures on delivery platforms. So after the edit is locked, a colorist corrects exposure and white balance, along with other issues that cause shots to look uneven. The colorist can then apply creative grades and filters to make scenes warmer or cooler, or to create stylized looks.
6. Edit and incorporate audio
This stage takes a close look at all the audio elements in your video, and includes cleaning up dialogue and adding sound effects or music. Audio post-production can be done at the same time as color grading. This is also a good moment to take care of translations and add in dubs.
7. Export and share the finished video
Once the video is ready to share, you’ll want to export a high-quality master file. Check whether that file meets the required specs for any platform you’re sharing on, and consider creating optimized versions for specific channels. Also, make sure to organize and archive all the project files, so you can access the full video and individual assets easily.
Host your video with Vimeo →
An example of the post-production workflow in action
Let’s imagine you have a client who needs a 90-second brand video for an upcoming product launch. The shoot is finished, and the deadline is close. But your team still has hours of raw footage, audio files, notes, and stakeholder feedback to turn into one polished video.
The first step is bringing all the footage together, and organizing it clearly so your team can find what it needs fast. Then you put together the first cut and send it around for feedback.
Marketing needs the opening to feel stronger, while the product team wants more time spent on the demo. Legal asks for a small disclaimer change, and the producer flags a shot that doesn’t match the brief. Your team reconciles all this feedback and gets a polished cut ready.
After picture lock, multiple tasks begin in parallel. As the motion graphics designer builds the end card and lower thirds, the colorist evens out shots from different setups. Meanwhile, the sound editor cleans up dialogue and balances music.
Launch day gets closer, and you start preparing to take the video live. The full length version needs to play smoothly on the client’s website, while shorter cuts are prepared for social media and paid ads. But your clear post-production workflow keeps every version connected to the master file and makes any last-minute changes manageable.
Why cloud-based tools improve your post-production workflow
Traditional post-production can easily turn into a maze of email threads and file versions across multiple channels. Cloud-based post-production tools replace that chaos with one shared space for file storage, editing, reviews, and approvals.
Here’s how a cloud-based approach benefits your team:
- Centralized asset management: A cloud platform can store all your scripts and video assets in one place, and make them accessible to team members whenever they work and on whichever devices they use.
- Collaborative reviews: Instead of feedback scattered across email, Slack, and screen-recorded Looms, editors and clients can add time-stamped comments directly on the video.
- Faster approvals: With centralized cloud reviews, everyone sees the same version, and there’s a clear record of who approved what changes and when.
- Automation and AI: Transcribing interviews or creating subtitles by hand can slow down your edit. Automated processes and AI tools handle those time-consuming tasks well, leaving editors free to focus on more creative work.
- Secure link sharing: Emailing large files or using consumer file-sharing tools often means dealing with expired links and security risks. Secure, private links let you control who can view, comment, or download.
Power up your post-production workflow with Vimeo
Vimeo’s cloud-based video management platform supports your entire post-production and delivery workflow. AI-powered editing tools, including filler-word removal and text-based editing, help your team work through footage fast. Collaborative video editing and review features keep feedback in one place, while automatic transcriptions help with dialogue cleanup.
And all edits, feedback, transcripts, and final exports can be stored securely in Vimeo's centralized Video Library. That means everyone on your team gets to spend less time tracking things down, and more time getting the video ready for approval and sharing.
Manage post-production smoothly with Vimeo →
FAQ
What are the seven stages of film production?
The seven stages of film production are: development, pre-production, production, post-production, distribution, marketing, and exhibition. Post-production is further broken down into several stages, as the video footage is organized, edited, and prepared for delivery.
What are the four types of post-production workflows?
Post-production workflows may follow various offline/online, tapeless (file-based), cloud-based, and hybrid models. The best process for your video depends on project scale, team location, budget, and time available.
Which post-production tasks can be automated?
The best post-production tasks to automate are the repetitive ones that slow down editing. Vimeo’s automation and AI tools handle work like transcription, caption generation, filler-word removal, and rough-cut assembly fast. Editors can then review the results, and make creative adjustments to refine them into a final cut.