Starting a streaming channel gives your business a way to connect with viewers through regular live broadcasts. You can host product demonstrations, share company updates, or run educational sessions that bring your audience together in real time.
Unlike building a subscription streaming service, creating a live channel doesn't require an extensive setup. This guide covers choosing a platform, preparing your equipment, and live-stream best practices for those new to streaming video.
Choose a platform for your streaming channel
Before setting up your streaming channel, think about who you want to reach and where they'll watch your broadcasts. Different platforms serve different audiences, so your choice should reflect the type of content you plan to share:
- Vimeo: A paid option designed for businesses that want more control over their live broadcasts. You can customize the viewing experience, embed streams on your website, and manage who can access your content.
- Twitch: A popular choice for streamers who want to build a community around gaming or creative projects and interact with viewers through live chat. If you're learning how to stream on Twitch, the Creator Dashboard is where you can manage your channel and access broadcasting settings.
- YouTube: A good, accessible fit for creators and businesses targeting consumers in YouTube’s diverse audience. If you're researching how to start streaming on YouTube, certain settings and restrictions apply depending on whether you’re broadcasting from a computer or mobile device, and you'll need to verify your channel and enable live streaming.
The streaming platform is where your viewers watch, while streaming software such as OBS Studio helps you prepare and send video to that platform. Some services also offer built-in broadcasting tools, so you may not need separate software for a basic stream.
How to start a streaming channel in 6 steps
Once you've chosen a platform, you can begin planning your channel and preparing for your first live broadcast. The following steps explain how to start a streaming channel, using a marketing team launching regular customer education sessions as an example.
1. Define your channel's goals, audience, and content plan
Begin by deciding what you want your channel to accomplish. A marketing team might want to use weekly live sessions to help customers get more out of a product or introduce new features, for example.
Think about who will watch and what information they'll find useful. Existing customers may appreciate product walkthroughs, while prospective buyers might be more interested in seeing how a product solves a particular problem.
Create a content schedule that your team can maintain. Decide how often you'll broadcast, choose topics for your first few sessions, and establish how you'll measure success. Viewer attendance and engagement can help you understand which session ideas resonate with your audience.
2. Set up your account, branding, and audience permissions
Set up a platform profile and channel that reflect your business. Use a recognizable name, and keep the branding consistent with your website or other social media accounts so customers know they're watching official content from your company.
Before your first broadcast, take care of a few account settings:
- Team access: Decide which team members will manage the channel, assigning permissions based on roles and responsibilities.
- Account security: Enable two-factor authentication (2FA) to help protect your account from unauthorized access.
- Audience permissions: Choose whether your streams will be public or restricted to specific viewers.
A public broadcast makes sense when you're trying to reach new customers. For internal training or content intended for a select audience, you may prefer a private stream. Vimeo’s privacy controls let you manage who can access your live content.
Explore Vimeo's content privacy controls →
3. Prepare your team, equipment, and connection
You don't need elaborate live-streaming equipment to get started. For a basic setup, a computer with a reliable webcam and a good microphone may be enough. If your team plans to demonstrate products or switch between presenters, you may need additional cameras or other production equipment.
Make sure everyone knows their role before the broadcast. One person might host the session while another manages the technical setup and monitors audience questions. Having someone available to troubleshoot also helps keep the presentation running smoothly.
Your internet connection matters just as much as your equipment. Run speed tests to check that you have enough upload speed for streaming at your planned video quality, and use a wired connection when possible to reduce the risk of interruptions.
4. Choose your broadcasting tools and production workflow
When deciding how to stream, think about what your broadcast needs to show. If you're hosting a simple presentation with one speaker, your platform's built-in tools might be all you need. A more complex production with different camera angles or on-screen demonstrations may call for separate software.
OBS Studio is one option worth considering. It's free and lets you switch between video sources while you're live. Marketing teams can use it to cut from an on-camera presenter to a product walkthrough without interrupting the broadcast.
Once you choose your software, connect your equipment and follow your platform's instructions for sending the video feed. Some setups use a stream key to establish that connection. If you'll be hosting regular sessions, jot down your settings and layouts after the first broadcast to save your team time preparing for the next event.
5. Promote your broadcast, test the setup, and go live
Attracting more viewers begins with giving people a reason to tune in. Share the event details through your usual marketing channels, and let viewers know what they'll learn by attending. For a customer education series, that might include promoting an upcoming product walkthrough in your email newsletter.
A few days before the event, run through the presentation with your team. Check the sound, watch for delays in the video, and make sure screen sharing works as expected. It's also worth testing the stream on another device to see what your audience will experience.
When it's time to go live, get your equipment up and running early so you can catch any last-minute issues. Have someone monitor the stream while the presenter gets underway, especially if you're using separate broadcasting software.
After your first session, you'll have a much better idea of what needs adjusting before the next one.
6. Engage your audience, repurpose recordings, and review results
Work doesn't end when the broadcast begins. Give viewers opportunities to participate through live community chat or the ability to submit questions for the presenter.
Once the stream is over, here are a few ways to get more value from the session:
- Share the recording: Make the stream available to customers and prospects through your website, social media channels, or a follow-up email.
- Create shorter videos: Clip useful moments from the broadcast for social media posts and future marketing campaigns.
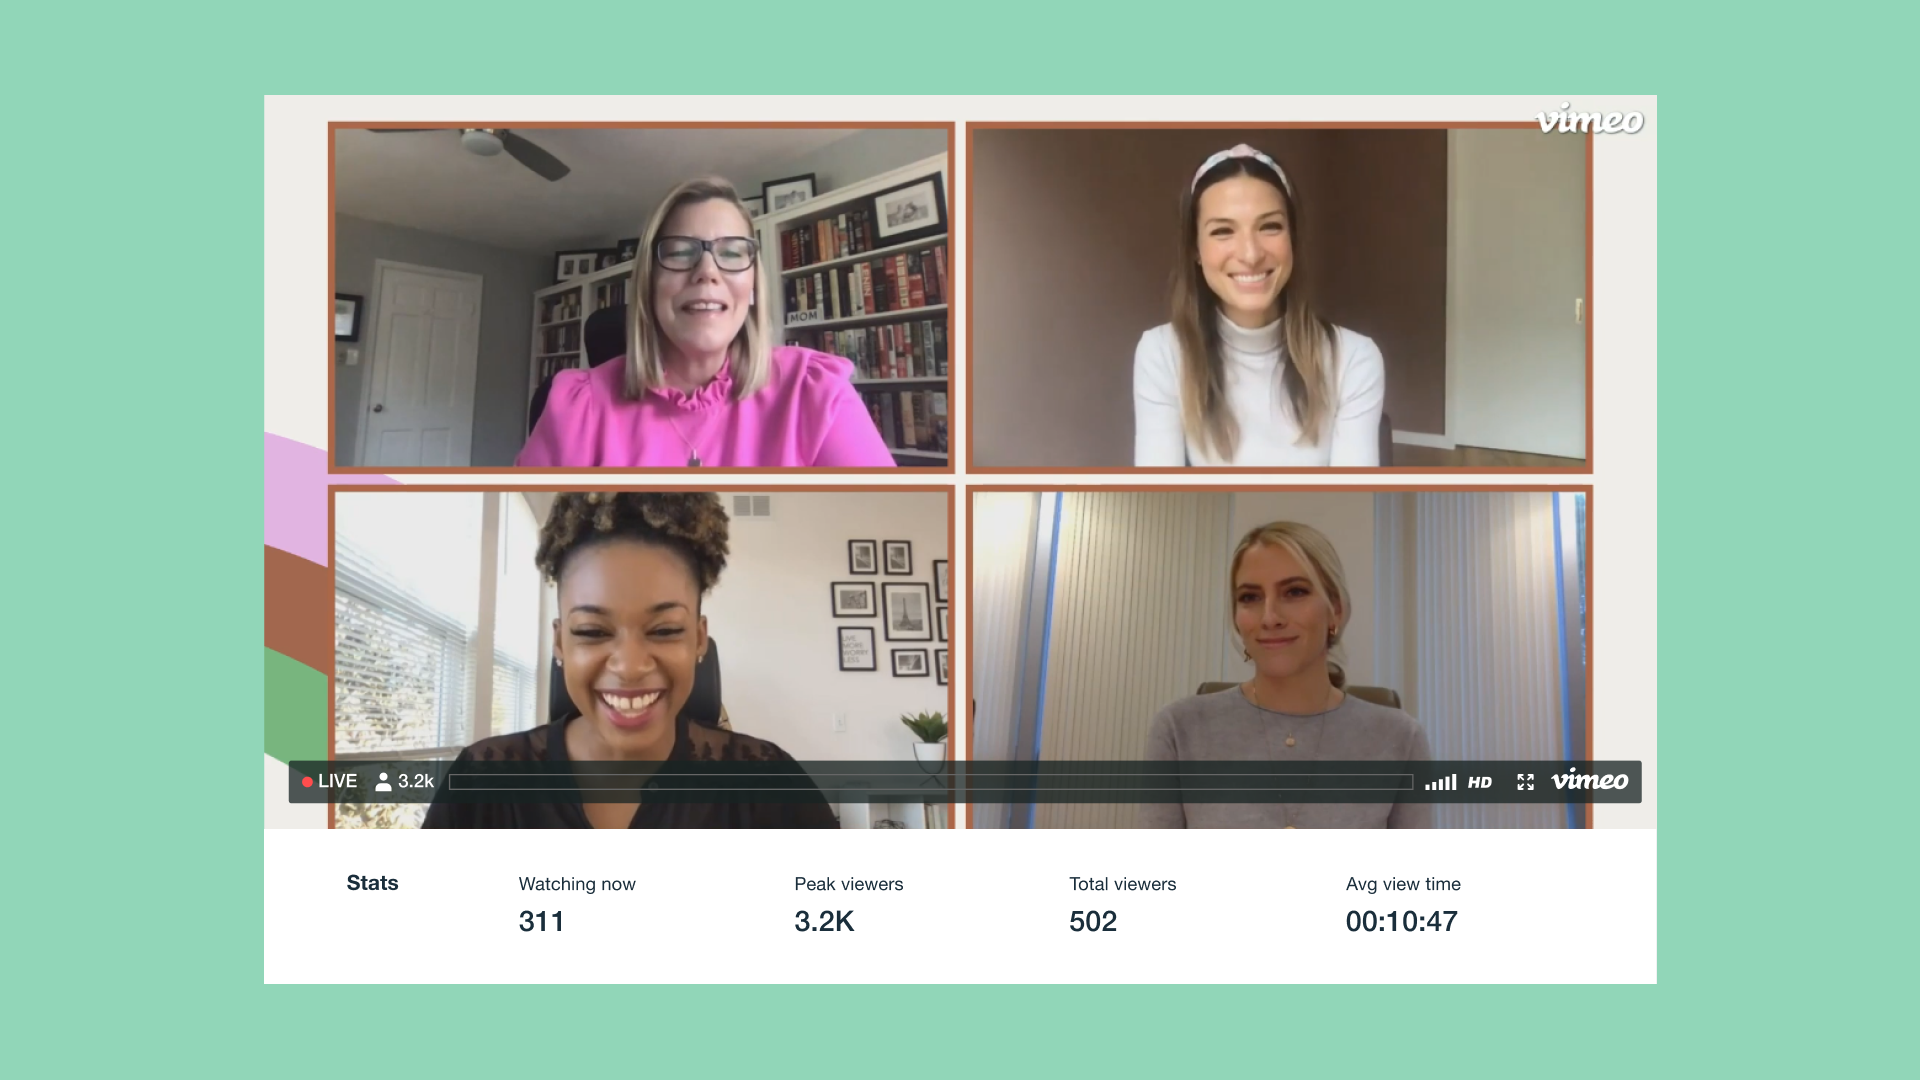
- Review the results: Look at attendance and viewing patterns to see where viewer engagement rose or dropped off. Use what you learn to plan the next session.
You might find that viewers respond better to shorter demonstrations or spend more time watching certain topics. Use those insights to shape your next broadcast.
Create and share professional live video with Vimeo
Starting a streaming channel takes some planning, but you don't need a complicated production setup to get your first broadcast underway. Once you choose a platform and decide on a workflow, you can focus on hosting sessions your audience will want to attend.
With Vimeo, you can host branded live broadcasts, embed them on your website, and use chat questions to connect with viewers. You can also control access to your events and save recordings for later. Live streaming is available with Vimeo Advanced and Vimeo Enterprise plans.
Explore Vimeo's live-streaming features →
FAQ
How long should your first live stream be?
For your first broadcast, 20–30 minutes is typically a reasonable starting point. That's often enough time for a focused presentation and some audience questions without making the session difficult to manage. You can adjust the length as you learn what works best for your team, content, and viewers.
Can you stream on multiple platforms at the same time?
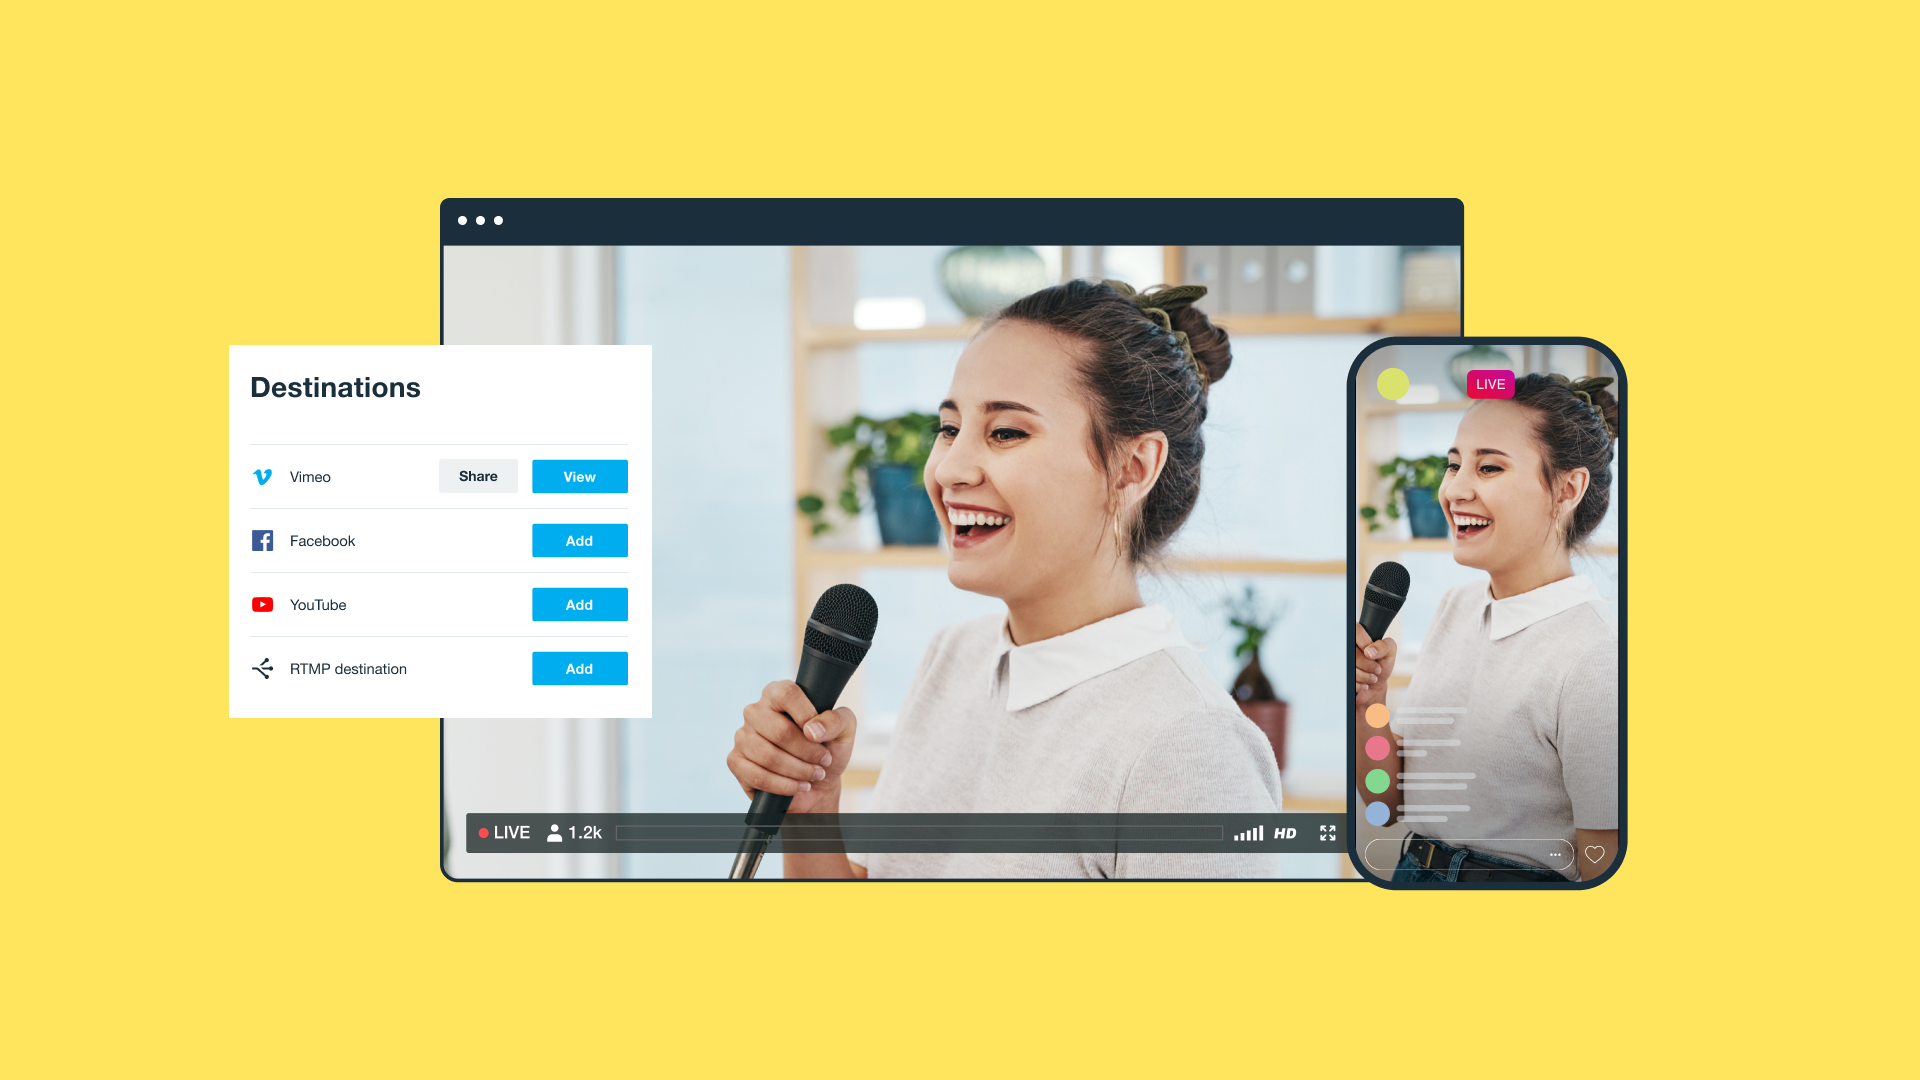
Yes, multistreaming or simulcasting lets you send one live broadcast to multiple platforms. You'll need broadcasting software or a streaming service that supports it, along with the appropriate platform permissions. Check your streaming providers’ features and requirements before getting started.
What’s the difference between a streaming channel and a one-time live event?
A streaming channel gives viewers a place to find your broadcasts over time, often with a regular schedule or recurring content. A one-time live event is a single broadcast, such as a product launch or company announcement. You can host individual events through your channel and build an audience that returns for future sessions.