A rising sun, a tumultuous sky, a slow illumination of city life. It’s not hard to see why time-lapses are one of the most captivating film genres. They’re beautiful and experiential — pushing us outside our human frame of reference and allowing us to see everyday life in one majestic sweep.
The principles of a great time-lapse are surprisingly simple. And because they’re so watchable, you can use them for almost anything. They’re great for capturing montages, event set-ups, workout sets, and so much more.
In this guide, we’ll show you how to make a time-lapse video using three different methods. You’ll learn how to make a time-lapse with a DSLR camera, an iPhone, and a video file. We’ll also include a few examples for inspiration.
How to capture a time-lapse
There are two main techniques for making a time-lapse video: you can either speed up video footage in post or piece together still photos. Just remember that each method requires specific prep, execution, and cerebral power. Weigh in the pros and cons for each method and consider the amount of footage, time to edit, data requirements, and equipment needed to achieve your time-lapse goals.
Let’s break down the steps for each method!
What is a time-lapse video?
How to capture a time-lapse using a DSLR Camera
If you’re looking for a professional, classic time-lapse, we recommend using stills from a DSLR camera. Still photos allow for longer exposure and create a beautiful motion blur.
Another benefit to photos over raw video is that you’ll have a far greater resolution. More resolution = more freedom in post to zoom in and out as you please.
Keep in mind that creating large scale time-lapses with your DSLR means capturing thousands of stills and editing down your footage. Regardless of the finished product, we recommend investing in solid data storage to save all your hard work.
To achieve the classic time-lapse with your DSLR, follow these five steps:
- Start with a stable tripod or surface – This will ensure your video stays still and captures high-quality video without any disruptive shakiness.
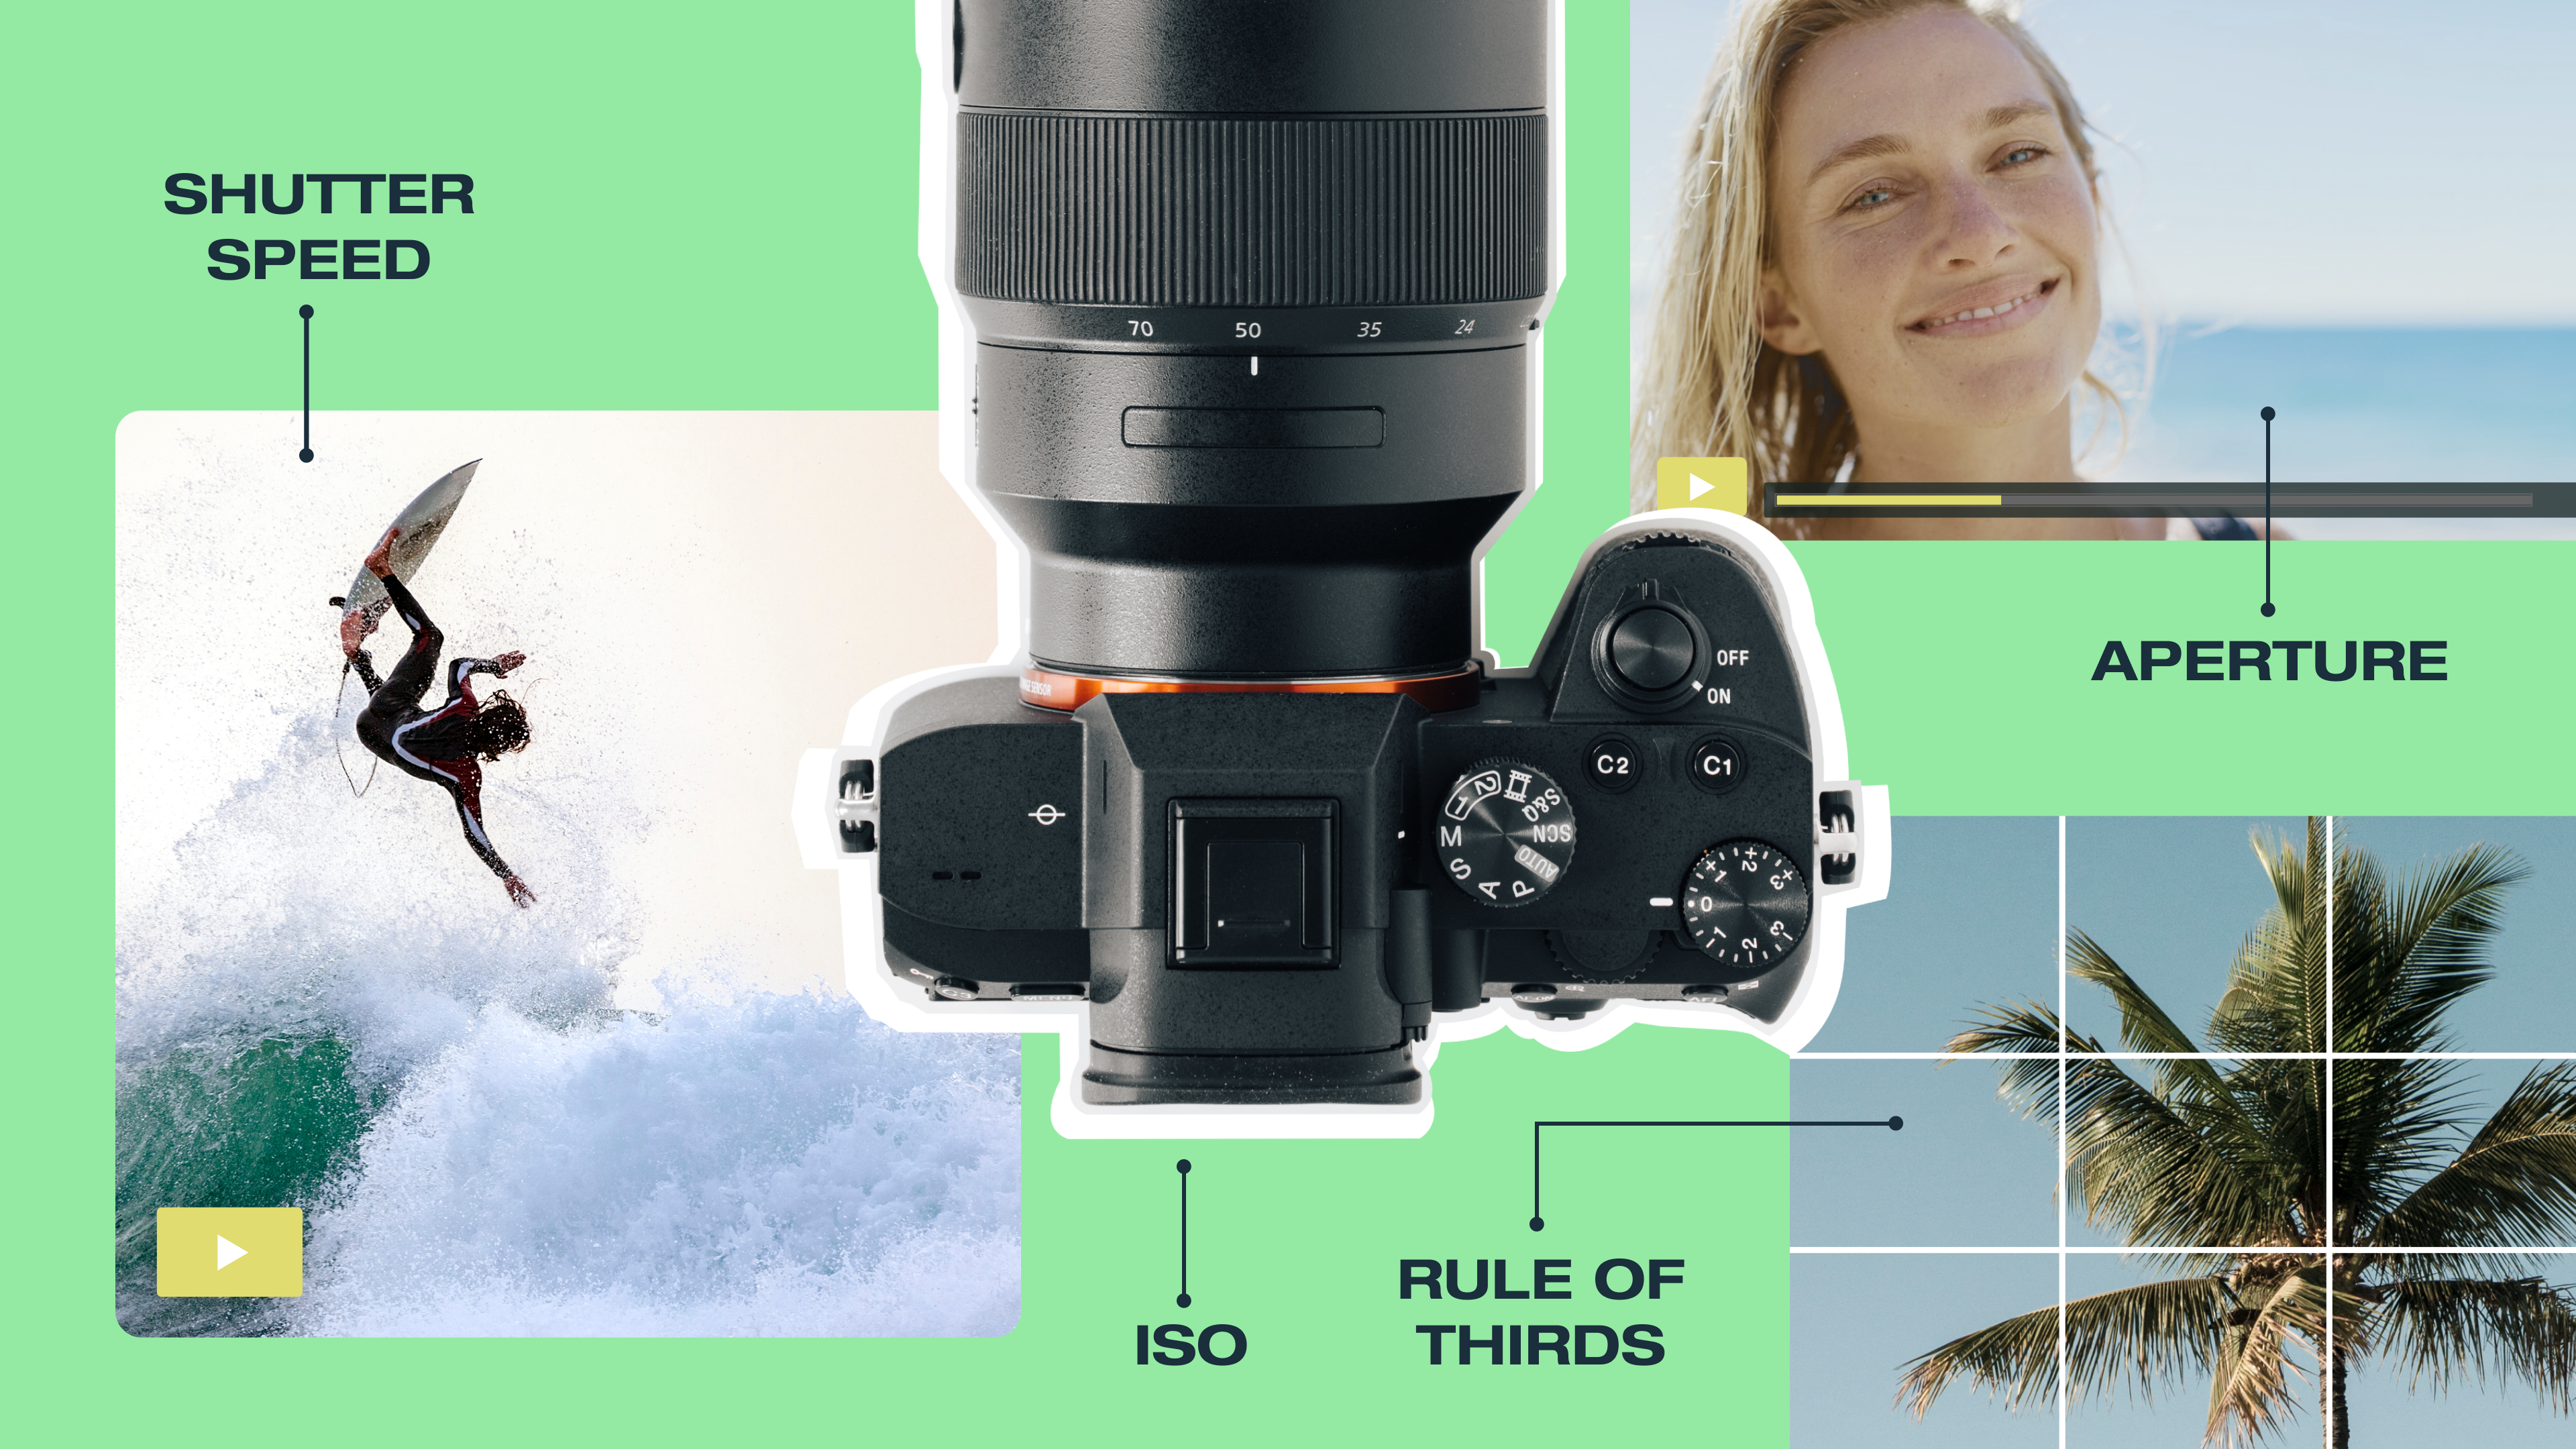
- Use still photo mode on your DSLR – Don't forget to check to make sure you’re on manual exposure — you won’t want this changing from frame to frame.
- Use slower shutter speed – This will give your video a more blurred-motion effect. Faster speed will make your video look choppier. (You may need an ND filter to achieve this!)
- Use a timer – Your camera may have an internal time-lapse or interval mode. If you've got it, use it! It will make your life easier.
- Import and stitch together – Once you've captured all of your individual stills, import them into your editing software and stitch them all together.
How many photo stills will I need to make a time-lapse video?
How to capture a time-lapse video with an iPhone
If you prefer shooting time-lapse video on iPhone or android — fear not! Mobile devices are great for mobility, minimizing equipment required to shoot, and reducing budget to produce a film.
This is a great option for small businesses, influencers, or brands focused on social channels like Instagram. Short, punchy time-lapse videos are popular on mobile devices and can take your video strategy in a whole new direction. Check out how to create time-lapse video from your iPhone:
- If you’re an iPhone user (iOS 8 or higher) tap the camera app and swipe to the time-lapse mode.
- Depending on your subject, choose between a portrait or landscape shot (ex. A person versus an outdoor setting).
- If you plan to take a landscape shot, we’d recommend using a tripod to stabilize your phone.
- Once you’re done recording, the video will automatically compress and appear on your camera roll.
There are even more ways to capture time-lapse video on your phone, though!
iPhone and Android mobile apps for creating a time-lapse
If you'd rather let apps work their magic, we've got a few faves for iPhone:
- Hyperlapse from Instagram
- Lapse It
- Lapse It Pro
And for our Android users, try these handy tools to make a time-lapse in no time:
- Lapse It
- Framelapse
- Microsoft Hyperlapse Mobile
Check out our guide on creating video with your phone
How to make a time-lapse video from a video file
You can also create a time-lapse with video files. Shooting a video and speeding it up requires less pre-planning on your part than using a collection of stills.
It’s worth noting that this technique works well during the day, but isn’t as successful for nighttime shots. You'll also likely get a stuttering effect and less of a ‘motion blur’ that’s common in a collection of stills with this method.
- Find a stable surface – Are you sensing a pattern here? Keep it still!
- Select video mode on your DSLR –Make sure you’re also in manual mode, so you have more control over your exposure!
- Slow your shutter speed – Shoot for 1/30 and 1/60 to minimize choppiness when editing in post.
- Record your video – Don't be afraid to go long: the longer you shoot, the more dramatic the effect you’ll see in post. We recommend at least an hour for peak drama.
- Edit away – Once you have your images, import them into your editing program. Line them up sequentially, and you have a time-lapse! If you are just filming your subject, speed up the footage for the same effect.
What’s the best way to create a day to night time-lapses?
Time-lapse examples we love
Now that you’ve gotten a glimpse at the various ways to capture an epic time-lapse, let’s take a look at the creators who are mastering their craft on Vimeo and beyond.
"Night Light" by Arthur Cauty
Arthur Cauty captured textures of light and motion in this beautiful video example. Pore over his Vimeo profile to learn how to create the illusion of movement.
"SOUTH AMERICA" by Morten Rustad
Morten Rustad created beautiful footage after a year traveling in South America. Check out how he used motion controlled gear to reveal unexpected details.
"PATAGONIA 8K" by Martin Heck
Time warper Martin Heck shot 6 weeks of footage to create this stunning exploration of landscapes in southern Chile and Argentina. The video you see here is a magnificent culmination of over 100,000 individual frames.
Wrap up: Master the art of time-lapse video
Time-lapse videos are a fun way to capture gorgeous scenery or create compelling content on social media. Whether you’re chasing a dramatic vista, observing the night sky, or capturing a vanishing horizon on the back of a bike, get to work, then share it right here on Vimeo!
More Video School lessons
After you're done creating your time-lapse video and before your content gets to the Vimeo video player, you can also leverage Vimeo's video editor for tasks like trimming video, merging video, compressing video, cropping video, making GIFs, and more.


