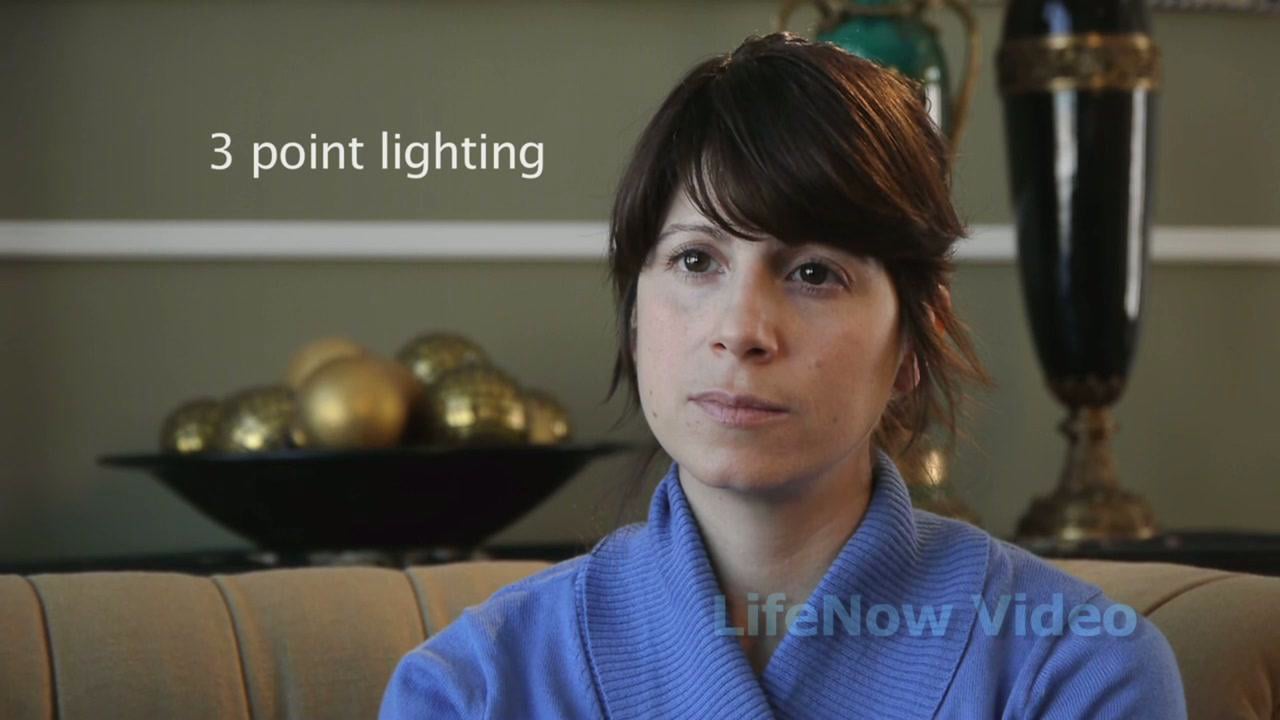
Three-point lighting is exactly what it sounds like: You light your subject from three different sources in order to control the shadows and balance the contrast. Light in general enables you to see your subject, but three-point lighting is the easiest way to make your subject look fantastic. Get started with LifeNow Video‘s explanation of the three light sources in the video above.
Three light sources
- Key light: This is the main light source. It shines directly on the subject, usually from the front right or front left, and it establishes the overall look and feel of the shot.
- Fill light: The fill light provides balance to the key light by ‘filling in’ the rest of the subject’s face with softer light. It should be positioned to the side that’s opposite the key light.
- Back light: The back light creates a flattering rim of light around the subject, separating him or her from the background. Sometimes the back light is called a rim light.
How to set up three-point lighting
- Start in the dark. Begin with all your lights off, and as little other ambient light as possible. This will help you differentiate among the three lights you’ll be turning on.
- Turn on your key light. Your key light is the brightest light in the scene and the one that creates the overall feel of the shot. Adjust its brightness to your liking. We recommend angling the key light about 30 degrees the right or the left of the subject. You also should position the key light in a relatively high spot to reduce shadows on the face.
- Add your fill light. The fill light should be on the opposite side of the key light, but still in front of the subject. Don’t make the key and fill lights symmetrical — the fill should be at the subject’s face level, and should get rid of any remaining shadows. The intensity of the fill light should be about half that of the key light.
- Bring in the back light. Finally, the back light separates your subject from the background. It can be placed anywhere behind the subject, but make sure to keep it out of the shot! You’ll want to angle it down from a high position to achieve a sharp outline on the edge of the subject.
Notice that light placement is critical, with subject definition dependent on how the lights are angled. Additionally, it’s important to consider soft lighting — also known as diffusion — to keep glare to minimum. Finally, remember that colored gels can be placed over your lights to change the tone of your shots. They can really help establish a mood for your scene by affecting the white balance. So there you have it: basic three-point lighting. Try it out on your next subject and see how quickly it can elevate the quality of your work.
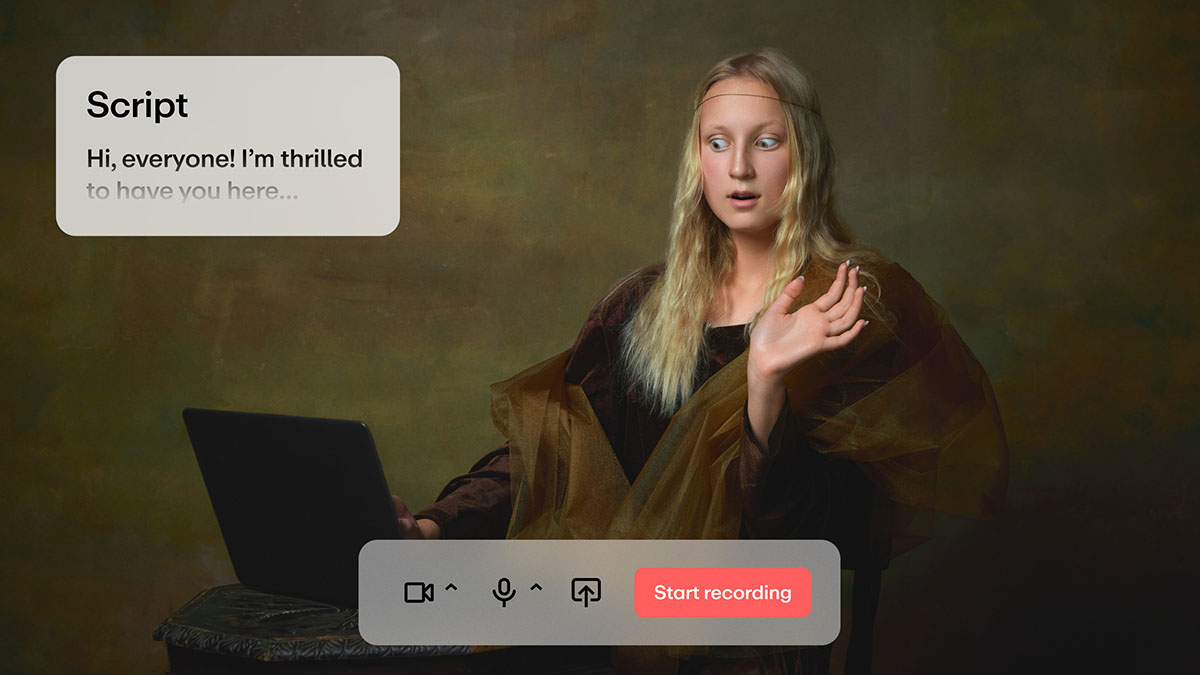
Once you've shot your perfect scene, take advantage of Vimeo's innovative solutions like the AI-powered script generator, video prompter tool, automated captioning tool, and AI translation service for seamless video production.