Because they’re useful for both participants and new employees, many businesses opt to record their Zoom meetings, save them, and view them again in the future. A good Zoom meeting recording can be an excellent training opportunity and keeps a record of emerging ideas as the company grows. This guide will explain how to record a Zoom meeting as a host or participant and help you troubleshoot some common issues.
Upload a Zoom recording →
Recording in Zoom: Key considerations
Zoom is a convenient, intuitive way to record meetings, but there are a few steps to take before you hit the record button. Consider the following:
- Account types: You can access recorded Zoom meetings with a free Zoom account, but you’ll need a paid subscription to save them in the cloud or take advantage of additional security features.
- Hosts and participants: Both can record meetings, but participants need the host’s permission to begin a recording.
- Video and audio settings: Always check that you selected the correct microphone and output device before you begin a Zoom recording.
- Close windows: Close any other tabs and programs to maintain your privacy and keep your screen recording clear of notifications.
Check out Vimeo’s free screen recording tools →
How to record a Zoom meeting as a host
When you begin a Zoom meeting, follow these steps to make a recording you can access later. Whether using the Zoom app on a desktop or mobile device, these steps are the same.
1. Configure audio and video devices
When you begin a meeting in the Zoom desktop app, you should see a preview window to select which audio and video devices you want to use. Double-check that these are correct and choose any background you like. Keep the option to “Always show this preview” enabled so you can check these settings before every Zoom meeting.
The mobile Zoom app skips this step. You’ll have to check your Meeting settings before you begin a Zoom recording to configure audio and video settings.
2. Start recording
Click the Record button from the bottom panel to start recording the meeting. Controls will appear at the top and bottom of the window, letting you pause or stop the recording. If you want to share your screen, click “Share” to enable the screen recorder.
3. End recording
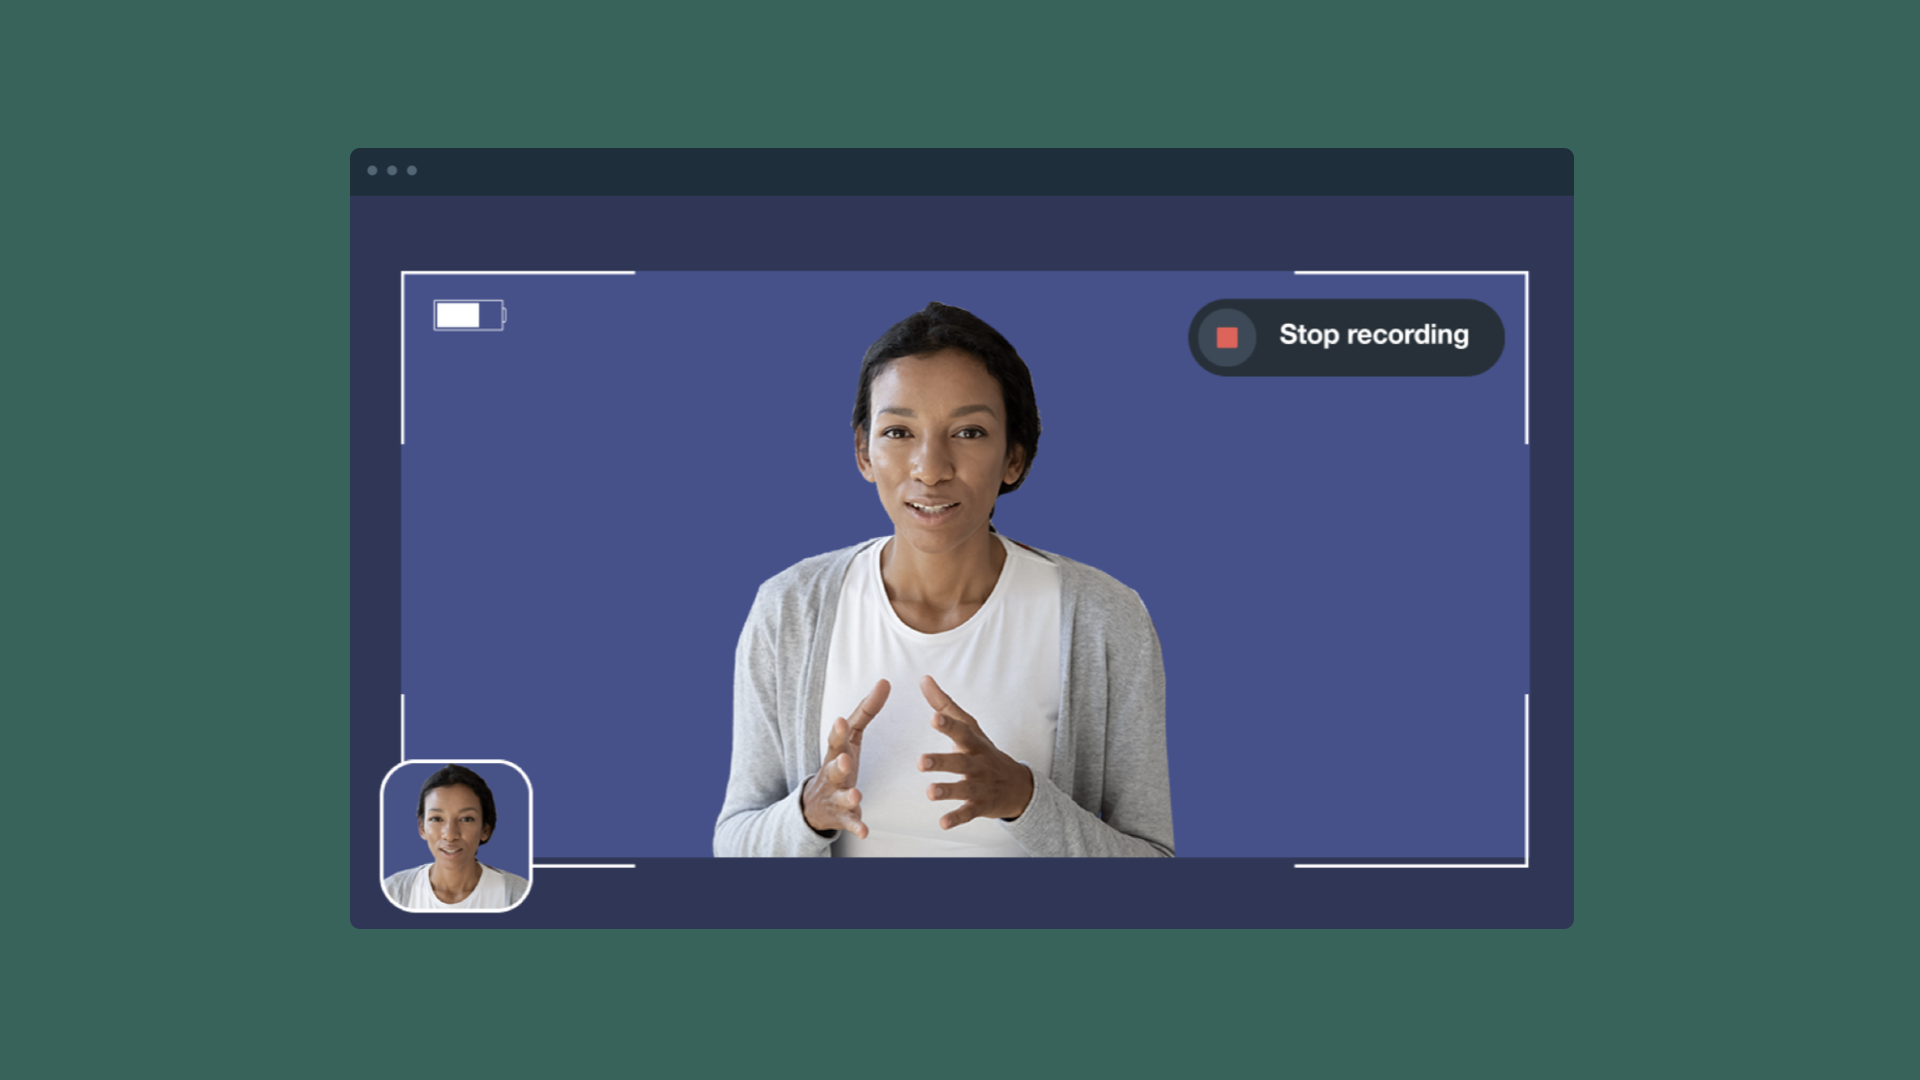
Click the “Stop recording” button to end a meeting recording. Zoom will process the recording into a video file when the meeting is over. If you made multiple recordings during the same meeting, they’ll be saved as separate files.
4. Select a save location
To save your Zoom recording, you must select a destination folder. Then, Zoom will convert the recording to an MP4 file. If you have a paid Zoom subscription, you can select to save them in the Zoom Cloud. Otherwise, you’ll have to choose a folder on your desktop or mobile device to save them.
Connect Vimeo and Zoom to edit your recording →
How to record a Zoom meeting as a participant
Recording Zoom meetings as a participant is similar to recording them as a host, but with a few minor differences. Here are the steps you’d need to follow on the desktop or mobile Zoom app.
1. Check your audio and video settings
While attending a Zoom meeting, you can click the “Audio” and “Video” dropdown arrows to select your preferred devices. Check that these are configured correctly before attempting to record the meeting.
2. Click “Record”
Click the “Record” button on the bottom panel. A modal window will appear asking if you want to send a request to the meeting host. Click “Send Request,” and the host will receive a message asking to “Approve” or “Decline” your request. After they accept, click the “Record” button again to start the screen recorder.
3. Stop recording
When you’ve captured enough of the Zoom meeting, click the “Stop recording” button. Zoom will save it as an MP4 when the meeting concludes. If you made multiple recordings, it’ll save as separate files in the folder you select.
See how Vimeo can streamline your Zoom recordings →
Addressing common issues when recording in Zoom
Here’s how to troubleshoot some common issues you might encounter with Zoom’s screen recording software.
Can’t find the record button
The record button appears under the “More” menu if you've never used it. After you click it, it’ll move to the bar at the bottom of the window.
Mac shortcuts | Purpose |
Command + Control + V | Launch new meeting |
Command + Shift + R | Start / end local recording |
Command + Shift + C | Start / end cloud recording |
Command + Shift + P | Pause recording |
Windows shortcuts | Purpose |
Alt + R | Start / end local recording |
Alt + C | Start / end cloud recording |
Alt + P | Pause recording |
Can’t see/hear participants — they can’t see/hear you
If you’re having audio or video issues, click the dropdown arrow next to the “Audio” or “Video” buttons to select a different device. If you have the correct device selected and it’s still not working, unplug it, plug it back in, and try again. If that still doesn’t work, check that the device isn’t muted or switched off, then restart your device.
Frequently asked questions about Zoom recording
How do I save Zoom recordings?
If you have a free Zoom account, your screen recordings will save to your local device. You can find Zoom recordings in the folder you selected when the meeting concluded. If you have a paid subscription, your recordings can be saved in the Zoom Cloud. To access them, you’ll need to sign into the Zoom web portal.
Are you allowed to record Zoom meetings?
If you’re the host, you can start and end recordings whenever you like, but it’s generally best to ask for participants’ permission before beginning a Zoom recording. If you’re a participant, you’ll need to request permission from the host before recording the meeting.
How long can you record on Zoom for free?
With a free Zoom account, you can host and record Zoom calls for up to 40 minutes. If you upgrade to a Pro or Business account, you can instead host and record for up to 30 hours.
How do I send a Zoom recording to someone else?
If you save the screen recording to your local device, you can upload it to a video hosting platform like Vimeo via the Zoom to Vimeo integration. You can edit your Zoom recording from your Vimeo Video Library and share it with others through email, web embedding, or a link.
Check out Vimeo’s Zoom editing tools →
Stream and monetize your virtual events with Vimeo
While Zoom is intuitive and convenient, it lacks several features for hosting large virtual events. With Vimeo, you can host virtual events for a vast audience or live stream meetings to anyone with a free or paid subscription.
Check out our comparison of Vimeo versus Zoom to learn how Vimeo offers more comprehensive video software.


