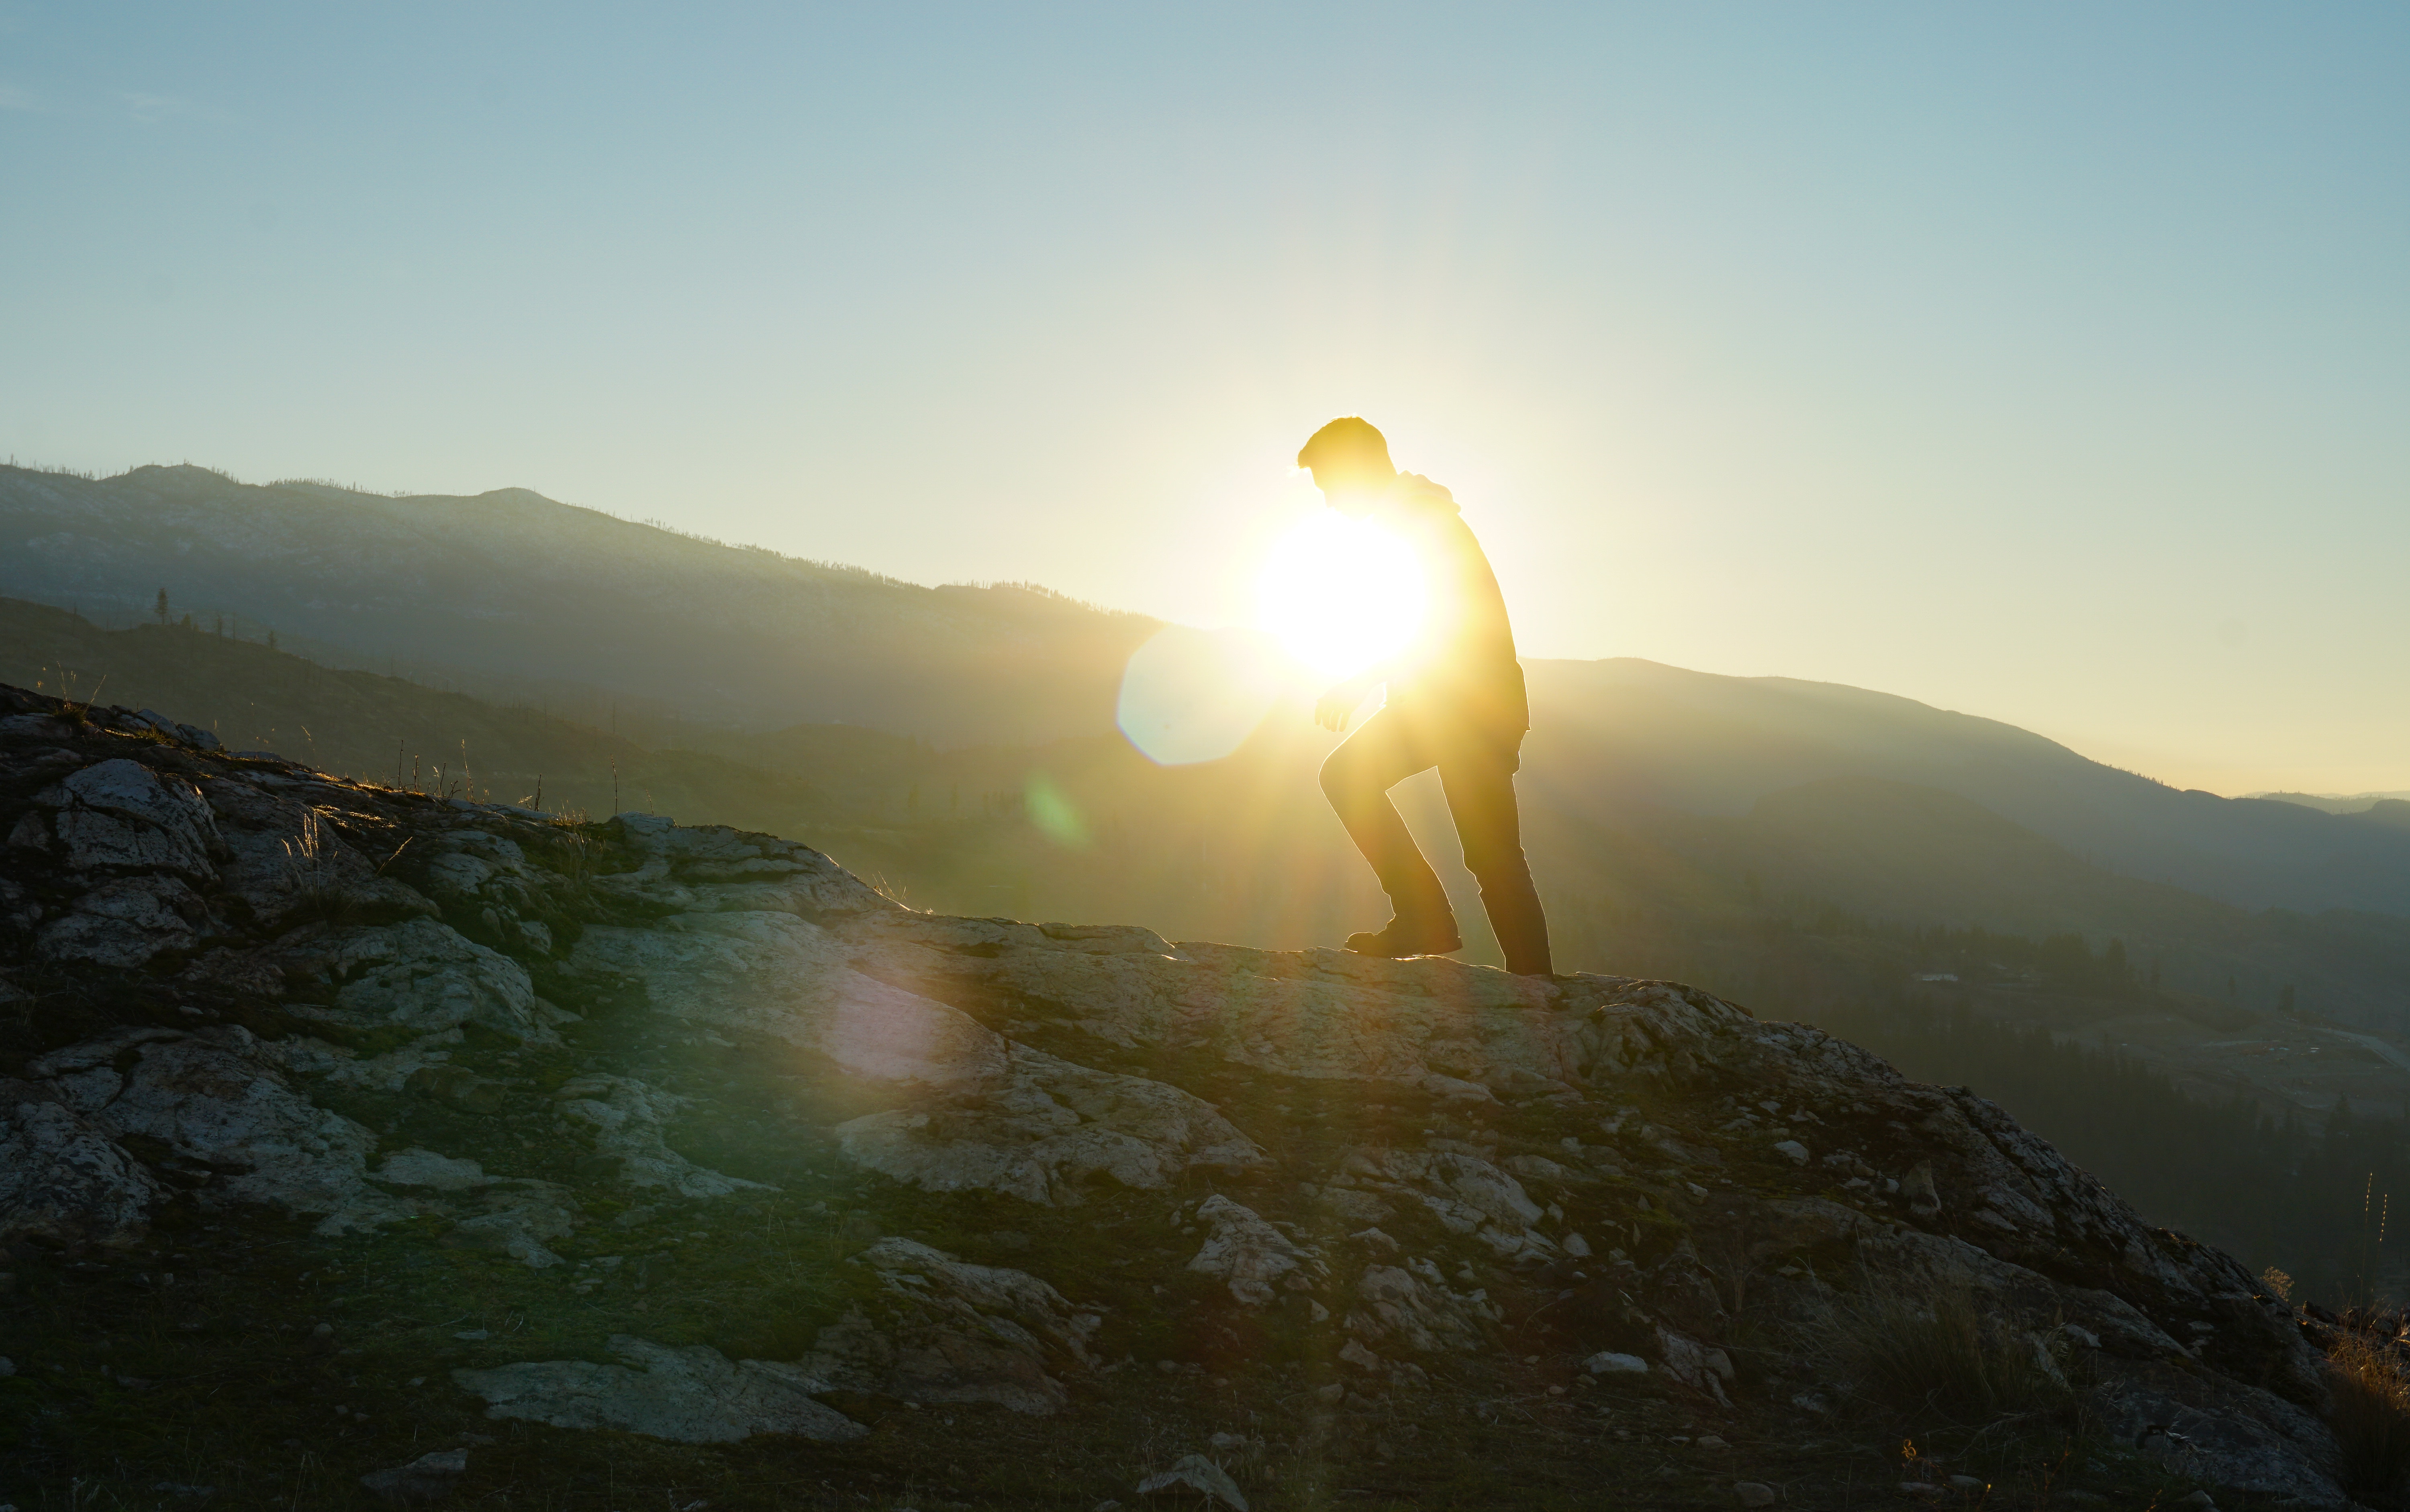
So, you’ve been Vimeo Video Schooled on how to perfect your indoor lighting in the office, but what if you take your production outside? It might feel unpredictable due to the fact that there are elements out of your control, but filmmakers have been making it work for a long time. There’s no reason why you can’t either!
What could really go wrong?
First, let’s figure out the most intimidating parts are about shooting outdoors, and then we’ll tackle them together. While filming, you might run into a couple of problems with your lighting:
- Not enough light during night shoots
- Overexposure in certain areas (also known as “hot spots”)
- Harsh shadows from sunlight hitting only parts of your subject
- Lens flare (unless you’re a real J.J. Abrams and embrace rather than avoid them)
Those are just a few issues that might come up during production, so don’t let them surprise you! Scouting your locations in advance, and determining the time of day you’ll be shooting, will help you understand and adapt to otherwise unpredictable lighting changes. Prepare by writing a strict schedule, rehearsing your lighting setup, and roll (pun definitely intended) with what Mother Nature gives you.
Adapt by utilizing your handy camera settings
While having the right camera and lenses will help ease your outdoor lighting woes, not everyone can afford to just scrap their current equipment and buy some new gear. In this case, it’s very important to understand how to make the best of what you already have, as depicted below:
As the above tutorial mentioned, you can adjust your camera’s aperture to let more or less light in. Aperture refers to the opening in the camera, controlled by a set of overlapping blades that can be expanded or restricted. Remember that the number associated with aperture might be counterintuitive: the smaller the aperture, the more light. For example, f/22 refers to a larger aperture than f/4, but f/22 will let in less light. If you’re shooting in low light outside, you might want to use a lower aperture, and vice versa if it’s super sunny. Changing your ISO can digitally brighten the image of your shot when you’re filming a scene at night (and the lighting is low) but be wary of the noise it might cause in your video. For a more in-depth info on what ISO is and how to utilize it, check the lesson from our friends at Story & Heart.
Best practices to keep in the brain
When you’re shooting outside during the day, always be aware of where the sun is. The best thing you can do is keep it behind the camera. This will not only prevent those pesky lens flares I mentioned earlier, but it’ll also enhance the color of your image. Of course, this will end up getting some direct sunlight in your subject’s eyes (if they are humans), so diffusing that light will not only be courteous, it’ll help the overall image. If you have a diffusion panel, by all means use it! But before you bust your wallet, don’t forget that muslin or layered sheets can do the trick.
To fix any contrast between the light and dark spots that might appear on your subject, you can hold something in front of where the light is coming from to lessen its intensity. A large piece of dark fabric or posterboard work great. You can also bounce light off of a reflector, a white, gold, or silver surface, so that light hits the exact place you want. Now, I know that’s a lot of materials you need to use, but they’ll help you control the sun, a fireball of a beast we know nothing about, and deeply despise (jk, it’s like 4.6 billion years old and I worship its existence).
It’s bright out there (or maybe dark), but you’ve got what you need to start shooting outdoors. You can learn more about working with available light, or branch into other parts of your shooting process, like varying your camera shots or choosing music for your film.
If you’re interested in improving on what you've shot after filming, you may also want to learn more about how you can use Vimeo before your video gets to the Vimeo video player, you can also leverage Vimeo's editing tools like the clip trimming tool, file combining feature, compression assistant, frame cropping utility, animated GIF tool, and more.