Video content has exploded in popularity, but keeping viewers engaged through an entire video isn’t easy. Video sections, also known as video chapters, help people find the parts that interest them most. By structuring your video content into clear, labeled segments, you can boost watch time and improve the overall satisfaction of your audience.
In this guide, we’ll explain what video chapters are, how they work, and why they’re useful for professionals like creators and marketers. You’ll also learn how to add chapters on Vimeo and YouTube, plus best practices for boosting discoverability and engagement.
What are video chapters?
Video chapters function like book chapters: They divide a video into labeled sections, each marked with a title and timestamp. These chapters appear directly on the playback bar, allowing viewers to efficiently skip ahead or return to the parts that matter most to them.
Video sections improve the experience for both creators and viewers. Viewers can navigate through a video using chapters to help them quickly find key segments, which is especially useful for long or multi-topic videos. Their approachability encourages audiences to rewatch favorite moments, and can even increase overall watch time since audiences are more likely to spend time searching for specific information, then stick around once they’ve found it.
From a creator’s perspective, chapters present a professional, organized structure that builds trust with viewers while also providing search engines with more metadata. This added information improves SEO, making your content easier to discover.
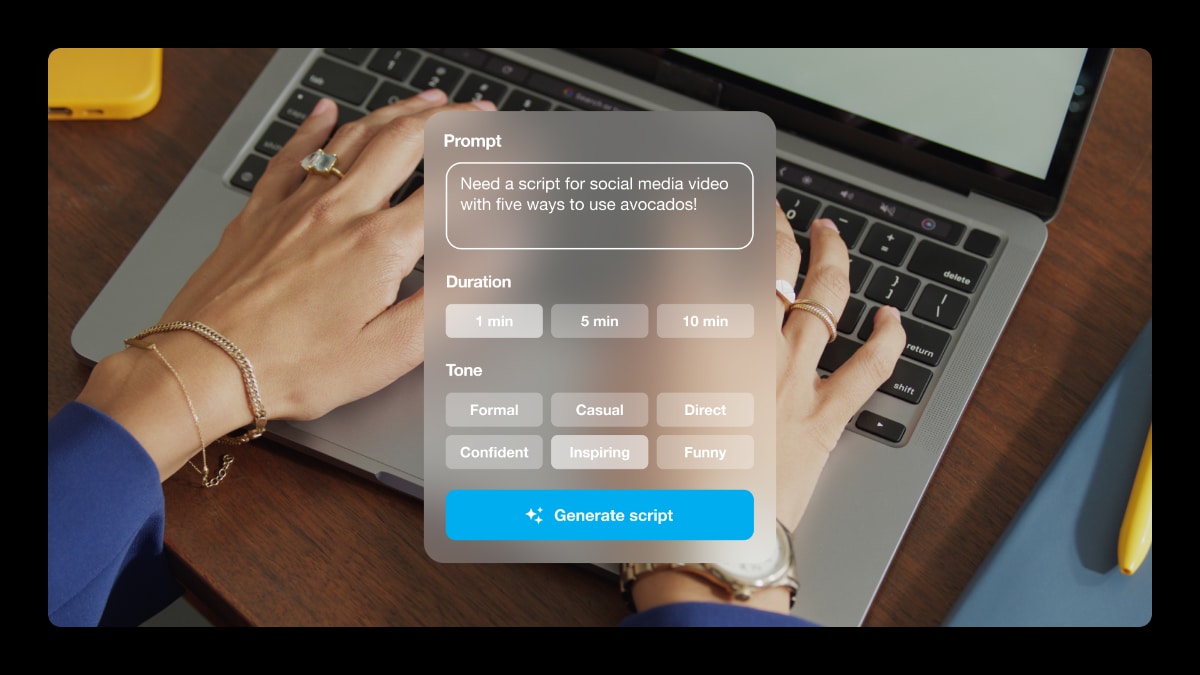
In Vimeo’s online video editor, creators can add chapters, crop and trim content, and even include interactive elements directly in the browser without complicated tools or extra software.
Explore Vimeo’s editor to create polished videos with chapters →
Differences between video chapters and video timestamps
Video chapters and timestamps are often mentioned together, but they aren't the same. Chapters divide a video into labeled sections that appear on the playback bar, helping viewers navigate through the video in a structured manner. Timestamps, on the other hand, are simple markers that point to a specific moment in a video without creating the same organized viewing experience.
Here’s a breakdown of the differences:
Video chapter markers
Video chapter markers divide a video into distinct, labeled sections that appear directly on the playback bar. Platforms like Vimeo and YouTube display these markers as titled visual breaks, allowing viewers to skip ahead or rewatch specific sections with ease.
From a technical standpoint, chapter markers come from embedded metadata into the video file or the hosting platform’s settings. This metadata stores information such as the timestamps where chapters begin and end, chapter title, and sometimes descriptive tags. Because the specifics come from the software or platform, not all file formats and players display chapters in the same way. For example, chapters created in one video creator or editor won’t automatically transfer if you upload the same file to another platform — unless that platform also recognizes the embedded metadata in the same way.
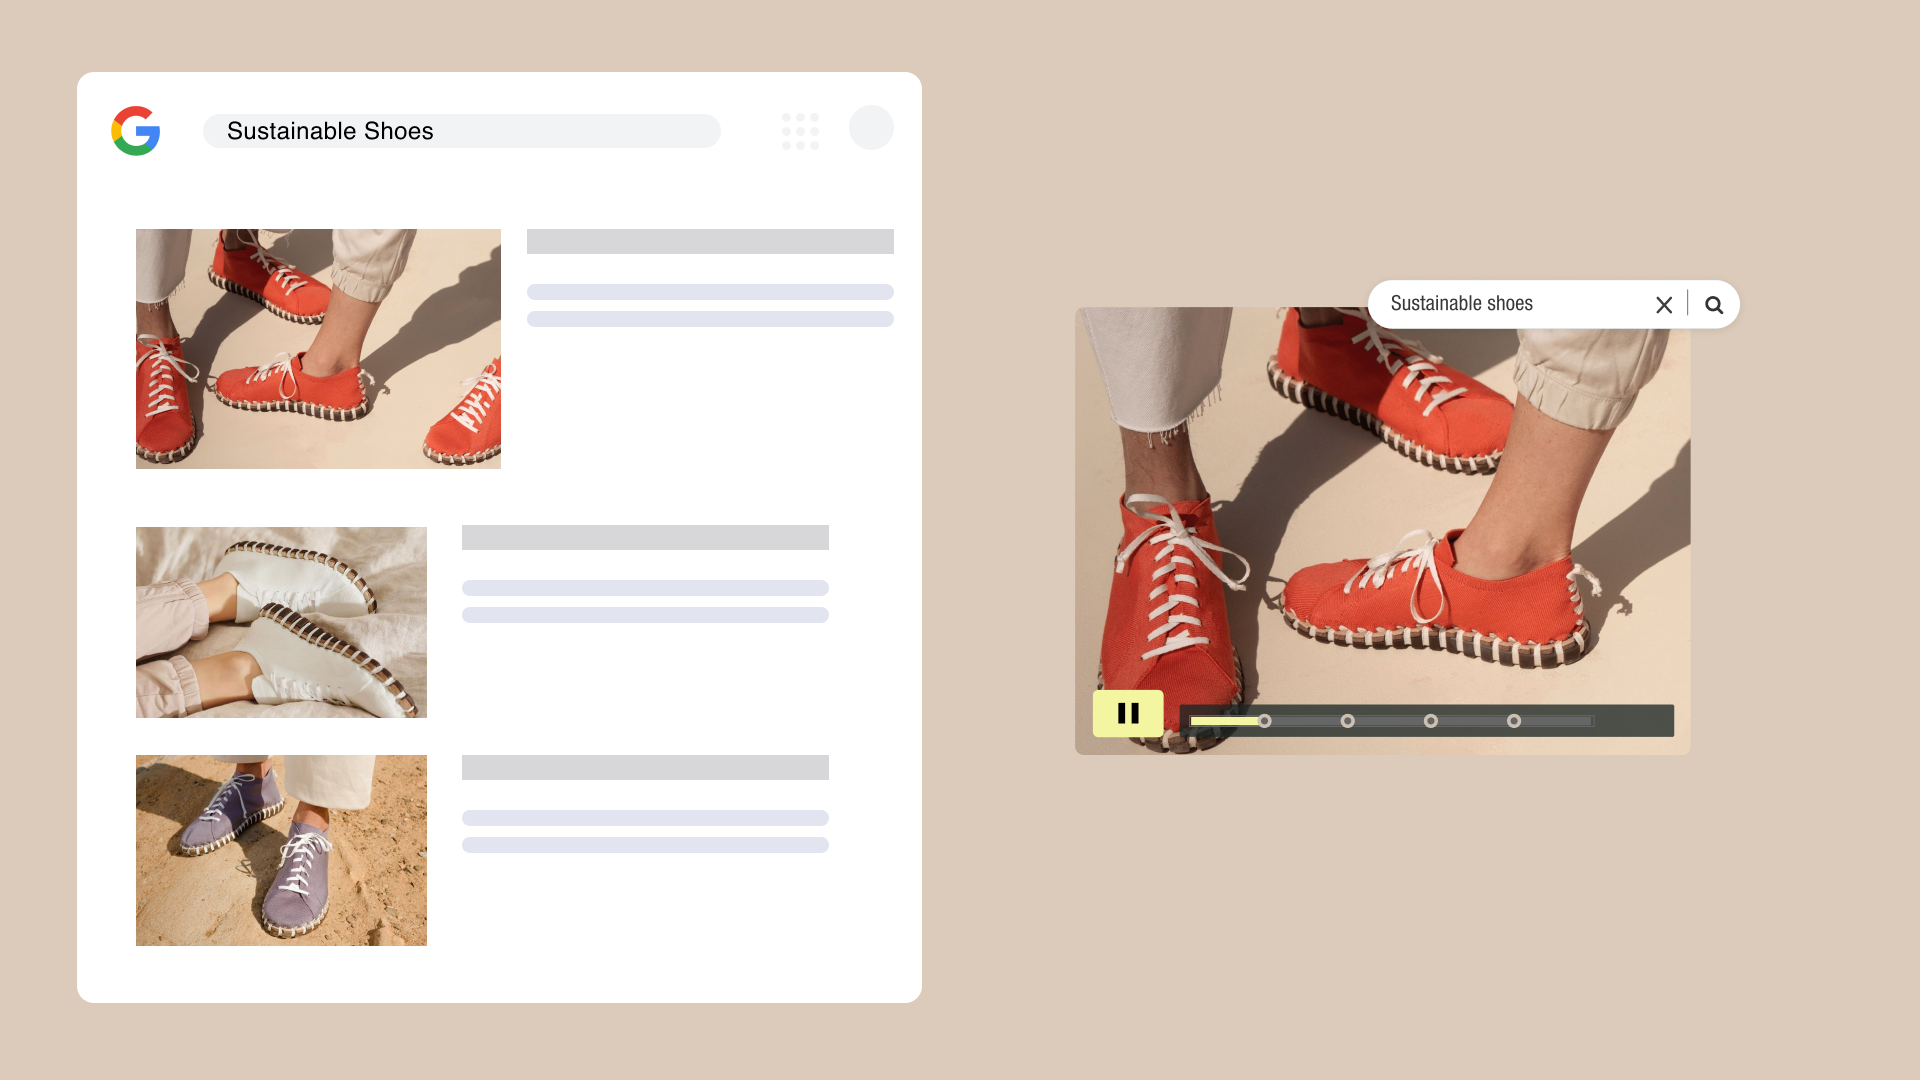
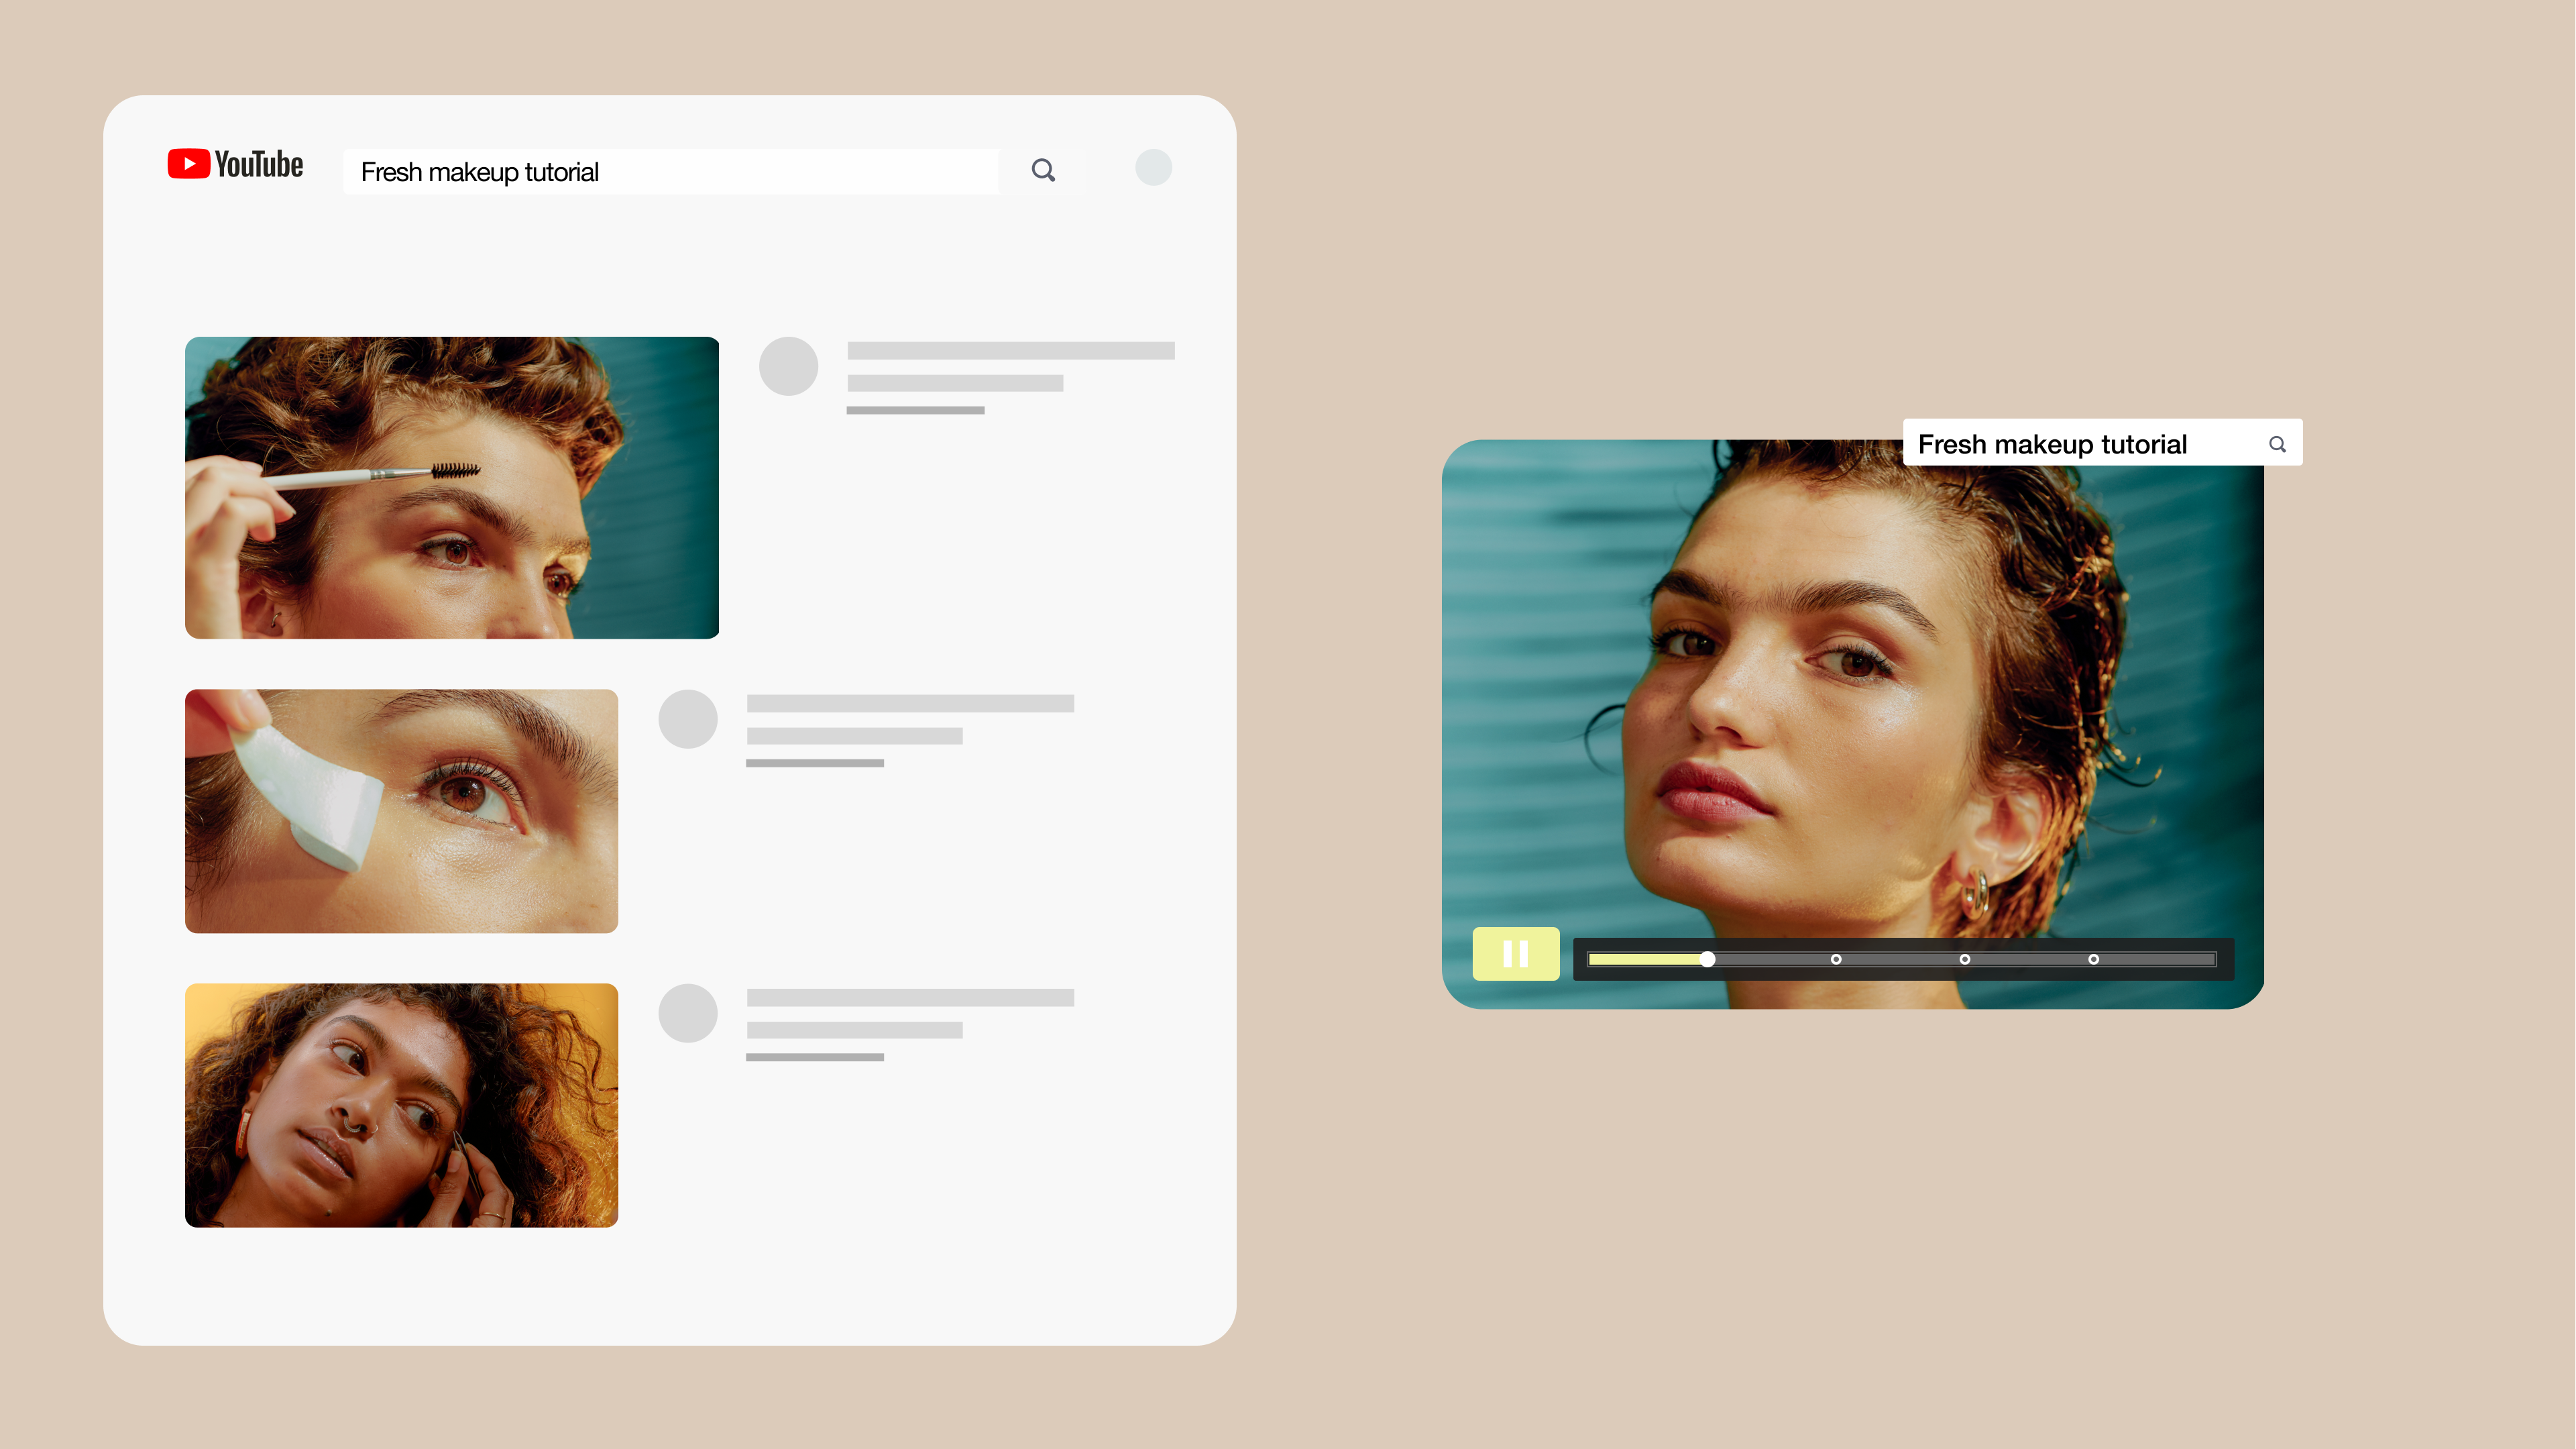
Aside from making navigation easier, chapter markers also improve key video metrics like engagement by letting viewers interact with videos how they want. Audiences can jump directly to the relevant moment they’re looking for, rather than moving on when they can’t find what they need. Chapters also boost SEO, since descriptive titles and structured timestamps provide search engines with more data to index your video. This extra information makes it more likely that your content will appear in search results for content and brand-relevant topics or queries, further driving viewership.
Video timestamps
Video timestamps mark a specific moment in a video, such as 1:35 or 3:14. Because timestamps can apply to any second of a video, they aren’t labeled in the playback bar, but are often included in a video’s description, in a pinned comment, or shared as a direct link. When viewers click on a timestamp, playback jumps directly to that moment, making it a useful tool for highlighting key content or answering common questions.
While timestamps are helpful for pointing audiences to precise parts of a video, they don’t set up the same structured experience as chapter markers. Timestamps function more like bookmarks than sections, and they lack embedded metadata. This means they can improve navigation but don’t have the same SEO or content organization benefits.
Creators often use timestamps to improve views and watch time by encouraging viewers to rewatch or revisit specific sections, such as one song in a full album. However, because they aren’t embedded directly in the playback bar and don’t always transfer across platforms, timestamps work best as a complementary tool rather than a substitute for full video chaptering.
How to add video sections
The mechanics of adding chapters or sections to your videos depends on your video editing platform. If you’re weighing your options between Vimeo and YouTube, Vimeo gives you more flexibility with features like interactive chapters, while YouTube supports more ways to engage with chapters on mobile.
We’ll walk you through how to add chapters on these two popular platforms.
Adding chapters to videos using Vimeo
Vimeo makes it easy to add chapters directly to your video, giving your audience clear navigation points while keeping your content polished and professional. While Vimeo does have the option to generate chapters using AI, it requires a paid Advanced, Premium, or Enterprise plan.
Here’s how to add chapters with Vimeo:
- Choose your video from your Vimeo Library to open its video settings page.
- Under the Interactive tab, click Chapters.
- Select +Add a chapter.
- Enter a title and timestamp for when and where you want your new chapter to begin.
- Add as many chapters as you’d like.
- Click Save and you’re done.
With the Vimeo editor, you can not only insert chapters but also crop, trim, and add stock footage to enhance your content. You can also add interactive elements, like overlays and calls to action, to make each chapter more engaging.
Create or upload a video to add chapters →
Adding chapters to videos using YouTube
Learning how to segment YouTube video content makes longer uploads more approachable for viewers, so they can quickly find what they want. You can add chapters manually or automatically using the platform’s AI, and can edit chapters in YouTube even after the video’s been published.
Here’s how to add chapters to YouTube videos for both methods:
Manual way to add video sections
- Open the “Video details” tab in YouTube Studio.
- Type in the timestamps and chapter titles directly into the description box, making sure to start the first marker at “0:00.”
- Save the video.
- Select “Show more” to expand additional options if needed.
Automatic way to add video sections
- In YouTube Studio, scroll to “Automatic chapters.”
- Select “Allow automatic chapters and key moments.”
- Save the video.
Creators can also edit auto-generated chapters if they prefer more control. However, accounts that have active strikes or are posting content that may not be appropriate for all viewers can’t use automatic chapter placement.
Do video chapters work on mobile devices?
It depends on the platform. Some support placing and viewing video chapters from mobile devices, others primarily use these tools on desktop. Vimeo doesn’t currently support video chapters in the playback bar on your phone (though you can access the Chapters menu to pick your starting point), but YouTube does.
Here’s how to add YouTube chapters on mobile:
- Download and install the YouTube Studio app on your mobile device.
- Select the video you want to update.
- Tap the pencil icon.
- Edit the description to include timestamps and titles.
- Save your changes.
Viewers will then see the chapters in both the description and the playback bar.
How are educational videos typically organized?
Corporate training and educational videos often have carefully planned chapters to make it easier to follow, search, and revisit learning moments. Often, each chapter corresponds with a key idea, lesson, or segment (much like chapters or units in a textbook), giving learners a clear path through the material.
Using chapters in educational and training videos offers several additional benefits:
- Improves comprehension and retention: Learners can move step by step, focusing on one concept at a time.
- Organizes presentations or training content: Chapters break long or complex material into smaller, digestible segments, which makes the content more accessible.
- Supports focused interactions: Viewers can skip directly to the sections they need, whether that’s a refresher on a specific topic or reviewing an entire module.
- Enhances the viewing experience: Well-structured chapters look professional and show the creator’s investment in making the learning process easier.
FAQ
Is there a recommended length for each video chapter?
Yes. Chapters should encompass between two and five minutes of content, though longer sections are fine if it flows naturally (especially in very long videos).
Can I add chapters to videos after publishing?
Yes, as long as your video editing platform supports it. Both Vimeo and YouTube let you add or edit chapters after uploading a video.
Do all video formats support chapter markers?
Most modern video formats and live-streaming platforms support metadata for chapter markers, but older file types like AVI may not.
Is there a limit to the number of chapters I can add?
It depends on your video platform of choice. YouTube requires at least three chapters per video and a starting timestamp of 0:00 for the video chapter feature to work. Vimeo doesn’t set a hard limit, but keeping chapters concise is best for navigation. Adding too many chapters can have the opposite effect and make your video more difficult to navigate.
Enhance your videos’ viewer experience with Vimeo
Adding video sections can boost discoverability and highlight the video’s most important moments. It’s an excellent way to help viewers learn and retain new knowledge, and makes longer videos more digestible.
With Vimeo’s online video editor, you can build chapters, edit videos, and add effects — all directly from your browser. Create professional and accessible interactive videos without expensive software through Vimeo and see how your viewers come back to your content again and again.
